You’ve probably seen LED light strips slapped onto walls, creating a colorful glow. While they look great at first, they often peel off over time. Exposed wiring and uneven placement can ruin the look, making the space feel messy.
Stick-on strips also lack the seamless, polished appearance that professional lighting offers. If you’re tired of dealing with falling strips or inconsistent lighting, it’s time to explore a better option, recessed LED lighting in walls.
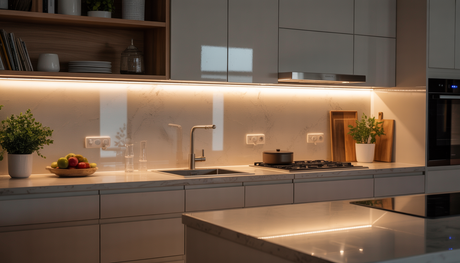
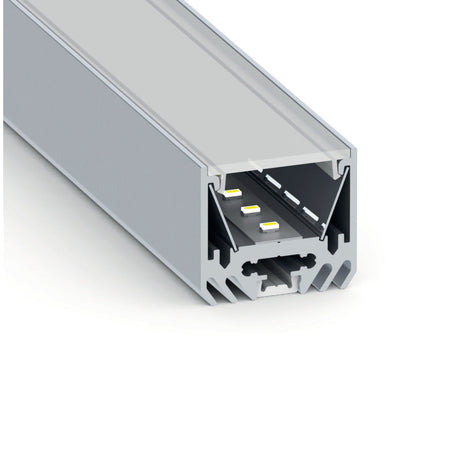
Recessed LED channels provide clean, professional results and long-lasting durability. By installing LED channels into the wall, you get smooth, continuous light without the hassle of adhesive strips.
This guide will walk you through the process of planning, installing, and maintaining recessed wall LED lighting. You’ll learn how to give your space a stylish, modern upgrade.
Table of Contents
- Step 1: Planning Your Recessed Wall Lighting
- Step 2: Selecting the Right LED Fixtures
- Step 3: Preparing the Wall for Installation
- Step 4: Cutting and Creating the Recessed Space
- Step 5: Installing the LED Lighting
- Step 6: Wiring and Powering the LEDs
- Step 7: Finishing and Testing
- Cleaning and Maintaining
- Conclusion
- FAQs on Recessing LED Lighting into a Wall
Step 1: Planning Your Recessed Wall Lighting
A successful installation starts with careful planning. Before cutting into your wall, think about what you want to achieve with your LED lighting.
Choosing the Purpose

Recessed wall LEDs can serve different purposes. It’s important to pick the right type for your space.
Accent Lighting: Use recessed wall LEDs to highlight artwork, shelves, or textured walls, adding visual interest.
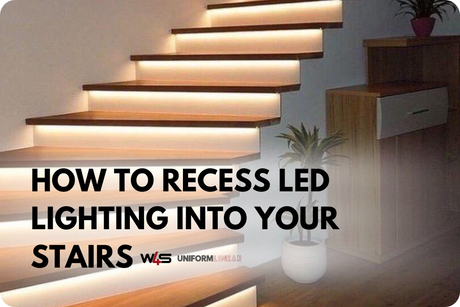
Task Lighting: Install wall LEDs near staircases or hallways for added safety and clear visibility.
Ambient Lighting: Create a cozy atmosphere by adding soft, indirect wall lighting in living rooms, bedrooms, or media spaces.
Picking the Right Placement
Placement can make or break your lighting project. Hallways benefit from recessed lights placed low along the wall to create a guiding glow. In living rooms and bedrooms, LEDs work best behind furniture or along ceiling trims for a cozy effect.
For staircases, placing LEDs along the sides improves both safety and aesthetics. If you’re lighting a hallway, aim for lights positioned evenly at regular intervals to avoid dark spots.
Mapping Out the Layout
Once you’ve decided on the purpose and placement, map out the layout. Measure and mark where each light will go. Proper spacing is key to achieving a balanced appearance.
Avoid placing lights too close together, which can create harsh lighting. On the other hand, spacing them too far apart leaves noticeable dark patches.
A good rule is to space them evenly to maintain smooth, consistent illumination.
Step 2: Selecting the Right LED Fixtures
The type of LED fixture you choose affects both the look and functionality of your recessed wall lighting. Picking the right option ensures that your space gets the perfect glow.
Choosing Between Strip Lights and Puck Lights
LED fixtures come in two main types. Each works best for different applications, so it’s good to know which one suits your needs.
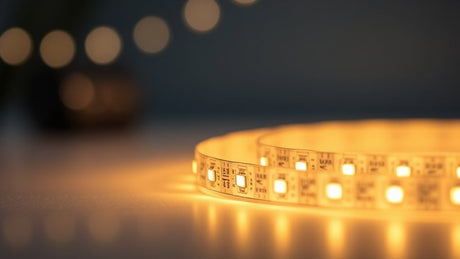
LED Strip Lights: These provide continuous, even lighting. They’re perfect for hallways, stairs, and areas where you want a smooth glow. Strip lights are also great for accent areas, adding subtle brightness without harsh spots.
Puck Lights: These create more focused, spot-like lighting. They work best for highlighting smaller features, such as artwork, shelves, or niches. When you’re aiming for a spotlight effect, puck lights are a solid choice.
Understanding Color Temperatures and Brightness

Color temperature and brightness play a big role in setting the mood. Choose the right option depending on how you want the space to feel.
Warm White (2700K–3000K): This gives a soft, cozy glow. It’s ideal for bedrooms, living rooms, and areas where you want a relaxed atmosphere.
Cool White (4000K–5000K): This offers a clean, bright look. It’s perfect for kitchens, bathrooms, and workspaces where clarity and focus are important.
Daylight (5000K+): This provides crisp, high-visibility lighting. It works best in areas where you need bright, clear illumination, like garages or laundry rooms.
Considering Waterproof and Dimmable Options
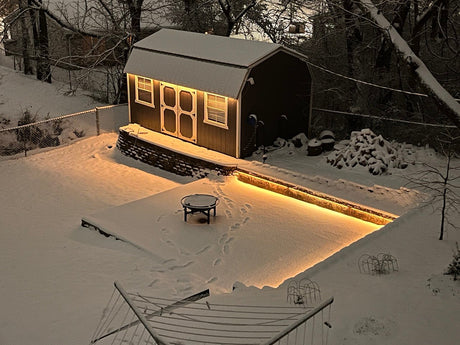
Waterproof LEDs are essential in moisture-prone areas. If you’re installing LEDs in bathrooms or outdoor spaces, opt for waterproof fixtures to avoid damage.
Dimmable options are also worth considering. They give you control over the brightness, allowing you to adjust the light depending on the time of day or your mood. Dimmers add flexibility and can help create a softer, more relaxing atmosphere when needed.
Step 3: Preparing the Wall for Installation
Before cutting into the wall, it’s important to assess the wall type and gather the right tools. Taking a few precautions helps prevent mistakes and keeps the process smooth.
Checking the Wall Type
Drywall is the best choice for recessed LED installations. It’s easier to cut and modify, allowing for clean, precise openings.
On the other hand, brick and concrete walls are harder to work with. They require specialized tools and extra effort, making them less practical for this kind of project.
Before starting, check for any studs, pipes, or electrical wiring behind the wall. Use a stud finder to locate obstacles and mark safe zones for cutting. This step prevents damage and ensures a smooth installation.
If your wall is made out of drywall, see these LED channels.
Gathering Necessary Tools
Having the right tools on hand makes the job easier and safer. Here’s what you’ll need:
- Drywall Saw: Cuts clean openings for the LED channels.
- Drill and Bits: Creates starter holes and secures wiring.
- Level and Measuring Tape: Ensures lights are evenly spaced and aligned.
- Wiring Materials: Includes connectors, wire nuts, and electrical tape.
- Safety Goggles and Gloves: Protects your eyes and hands during the process.
Ensuring Safety Precautions
Safety comes first when working with electricity.
Turn off the power at the circuit breaker before starting any work. Flipping the wall switch isn’t enough, cutting power at the breaker eliminates the risk of electric shock.
Use a voltage tester to confirm that the wires are not live. This step only takes a few seconds but ensures a safe working environment.
Following these steps will help you prepare the wall correctly and avoid unnecessary complications.
Step 4: Cutting and Creating the Recessed Space

This step is where your project takes shape. You’ll create the space needed for your LED channels, so precision is key.
Marking Precise Cutouts
Use your measurements to mark the areas where the recessed channels will go. Double-check your layout to ensure even spacing and alignment. A level helps keep the lines straight.
It’s better to measure twice and cut once to avoid mistakes.
Cutting Into Drywall
Carefully cut along your marked lines using a drywall saw. Start with small pilot holes to guide the saw and prevent wandering. Go slow and steady to avoid damaging surrounding areas.
If you’re using pre-made LED channels, check that they fit snugly in the cutouts before proceeding.
Reinforcing the Space for a Secure Fit
After cutting, assess the wall for stability. If the wall feels weak or thin, add reinforcement. Use wood or metal supports to secure the LED channels and prevent shifting.
This extra step ensures that the lighting stays flush and secure over time.
Checking for Obstacles
Before inserting the channels, check the space for any loose debris. Clean out any dust or drywall bits to ensure a smooth fit.
This small step helps prevent uneven lighting and keeps your installation looking polished.
Step 5: Installing the LED Lighting
With the space prepared, it’s time to install the LED strips or fixtures. This step brings your recessed wall lighting to life.
Running Wiring Through Walls
Thread the wiring carefully through the wall, making sure it reaches the power source smoothly.
Avoid letting the wires tangle or get caught in tight spaces. A fish tape or wire puller helps guide the wiring through without hassle.
Mounting LED Strips Securely
Place the LED strips inside the recessed channels, ensuring they stay straight and firmly attached. Double-check that the adhesive backing sticks well to the surface.
For puck lights, position them securely into their cutouts and press firmly to keep them in place.
Concealing Wires for a Seamless Look
Hide all wires behind the drywall to maintain a clean, polished appearance. Use wire clips or cable channels to keep them organized and prevent loose wiring.
Tuck the wires neatly to avoid any bumps or uneven surfaces that could affect the final look.
Step 6: Wiring and Powering the LEDs
Decide how you want to power your LED lighting for optimal control and efficiency.
Choosing Between Power Options
Battery-Powered: Suitable for temporary setups or areas with limited access to outlets.
Plug-In Options: Ideal for DIY installations without hardwiring. See our plug-in power supplies here.
Hardwired Systems: Best for a permanent, professional installation that integrates with existing electrical systems. We have suitable transformers right here.
Installing Switches or Smart Controls

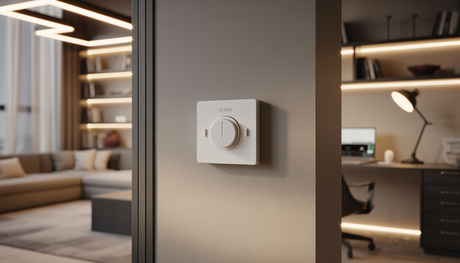
Add dimmers or smart lighting controls to adjust brightness and set lighting schedules. Smart options allow you to control lights remotely from your phone. It is important to choose a control system that’s compatible with your LED lights to avoid connectivity issues.
Testing Connections for Functionality
Once wired, test all connections to ensure the lights are working properly. Check for flickering, uneven brightness, or any other signs of a loose connection. Run the lights for a few minutes to confirm they stay stable and maintain consistent brightness.
Step 7: Finishing and Testing
The final step is giving your recessed LED lighting a polished look.
Sealing and Painting
Apply caulk around the edges of the LED channels to seal any gaps. Touch up the area with paint to blend the channels into the wall. Let the paint dry fully before turning on the lights.
Testing Brightness and Making Adjustments
Switch on the lights and check the brightness level in the room. Use dimmers or smart controls to fine-tune the lighting. Adjust the placement if the light feels too harsh or uneven.
Troubleshooting Common Issues
Flickering or uneven brightness can indicate loose wiring or inconsistent power. Check all connections and tighten any that feel loose. If the problem continues, inspect the power source and LED components.
Cleaning and Maintaining
Dust can collect on LED strips over time, reducing their brightness. Gently wipe them down with a microfiber cloth to keep them clean. Avoid using harsh chemicals that could damage the lights.
Fixing Flickering or Uneven Lighting
Loose connections or worn-out components often cause flickering. Double-check the wiring and replace any faulty parts. A stable power supply helps prevent future issues.
Upgrading or Replacing Components
Upgrading your LED strips or dimmers can improve the overall lighting. Newer components often offer better energy efficiency and brightness. Choose reliable brands to ensure lasting results.
Conclusion
Recessed LED wall lighting adds a modern touch to any space. It creates a clean, built-in look that feels both stylish and functional.
Unlike stick-on strips that peel over time, recessed channels offer long-lasting, professional results. They stay in place and provide consistent, high-quality lighting.
With proper planning and careful installation, you can achieve a stunning effect. Occasional maintenance keeps your lighting looking fresh and working efficiently.
Ready to upgrade your space? Start planning your recessed LED wall lighting today and give your home a polished, high-end look.
FAQs on Recessing LED Lighting into a Wall
How do you attach LED lights to your wall?
To attach LED lights, insert them into recessed channels cut into the wall. Secure the channels with adhesive or screws to ensure a firm hold.
How do you layout LED recessed lighting?
Plan the layout by marking the desired positions on the wall. Space the lights evenly to avoid dark spots or overly bright areas.
How do you make LED lights stay on a wall?
Use recessed channels to hold the LED strips securely. This prevents peeling and ensures the lights remain in place over time.
What is a wall recessed light?
A recessed wall light is an LED fixture installed into the wall. It provides a clean, built-in appearance with focused or ambient lighting.


