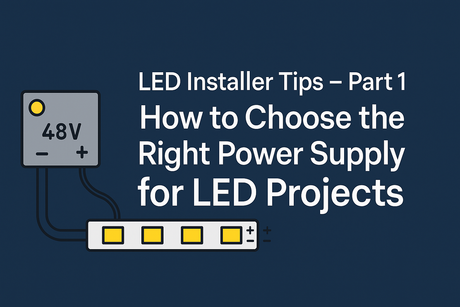
Why Power Supply Choice Matters
A poorly chosen PSU leads to: flickering, early failure, overheating, or burned-out strips. This guide shows how to size correctly, avoid overheating, choose the right type of driver, and pick from Wired4Signs USA’s stocked models.
If you don't feel like reading, we have a handy tool that takes your strip's wattage and length and gives you driver recommendations.
Step 1: Calculate Your Total LED Load
The standard electrical calculation for power is Power = Voltage × Current, but this method is not practical to use for selecting an LED driver. LED strip is conveniently given a Watts/meter rating, so you can quickly work out the total load by multiplying the rating by the strip length: Power = Watts/meter × meters.
Example: 14.4W/m × 5m = 72W
Step 2: Apply the + 15-30% Rule
Never run a PSU at 100% capacity. We recommend adding 30% headroom.
Example: 72W × 1.3 = 93.6W → use 100W PSU
Will a Bigger Power Supply Blow My LEDs?
Can I run a 15W piece of 24V LED strip on a 100W power supply?
✅ Yes, you absolutely can.
With constant voltage power supplies (12V or 24V), the power supply doesn’t “push” current into your LEDs — it simply provides the voltage, and your LED strip draws only the amps it needs. So even if the PSU is rated for 100W or more, it’s perfectly safe to power a small 10W–20W strip, as long as the voltage is correct.
❗ You’re more likely to have problems by underpowering, not overpowering.
⚠️ But What About Dimmable Drivers?
With mains dimmable or 0–10V dimmable power supplies, it’s important to ensure:
- Your load is at least 65%–80% of the driver’s rated output
- This keeps dimming behavior smooth, stable, and flicker-free
Example: Don’t use a 150W phase-dimmable driver to control just 20W of strip — it may behave erratically. Instead, aim for at least 100W load on a 150W dimmable PSU.
Step 3: Understand PSU Heat and Lifespan
Like all electronics, the internal components of a PSU degrade faster when overheated. Always allow for air circulation and avoid overloading.
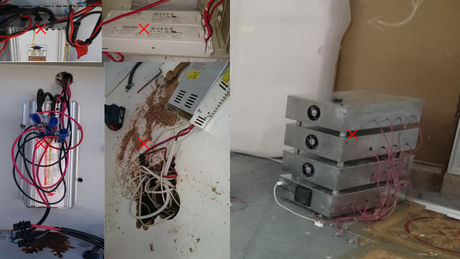
Step 4: Mount Horizontally – Never Vertically
Horizontal mounting allows heat to rise and escape efficiently. Vertical installs trap heat inside the body, damaging components from bottom to top.

- ✅ Horizontal = better airflow, cooler components
- ❌ Vertical = thermal stacking and premature failure
Choose the Right Driver Type
Not all drivers are the same. Match driver type to control method and project needs:
| Type | Description | Use Case | Example |
|---|---|---|---|
| Plug-type | With DC plug or kettle cord | Quick installs, display lighting | Meanwell GST, SGA, EnoLED ELD Series |
| Inline Non-Dimmable | Basic constant voltage PSU | Cabinet, signage, commercial | ERP VLM, APV, LPV |
| Phase-Dimmable | For wall dimmers | Home, retail | EnoLED XRD, MRD, MX1 |
| 0-10V Dimmable | Smart control input | Automation | PWM, VersaDrive |
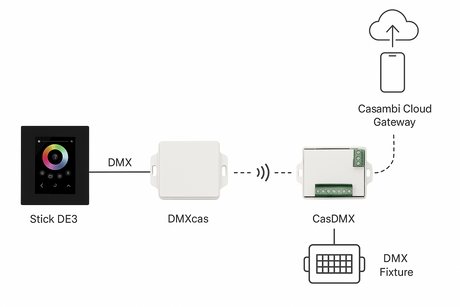
| Smart Driver | Wireless control built-in | Luxury residential | Casambi 160W |
| Switch/Driver Combo | Wall-mount integrated unit | Retrofits | TRC DIM |
| Constant Current | Used for COB/spot LEDs | Engineering, task lighting | Meanwell APC |
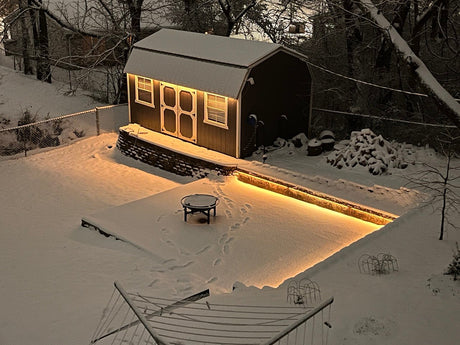
🌧️ Power Supplies for Outdoor Use
Installing LED strips outside? You need a power supply that can handle water, dust, and temperature swings.
Look for PSUs with an IP65, IP66, or IP67 rating, which means they’re sealed and safe for damp or wet environments.
✅ Outdoor Power Supply Options from Wired4Signs USA
| Product | IP Rating | Application | Notes |
|---|---|---|---|
| Meanwell XLG Series | IP67 | General outdoor use | Slim profile, great for signs |
| Meanwell HLG Series | IP67 | Harsh environments | Premium quality with 7-year warranty |
| EnoLED MX1 Dimmable | IP66 | Outdoor dimmable lighting | Phase-dimmable, great for patios |
| Casambi 160W Smart PSU | IP66 | Smart outdoor control | Bluetooth-enabled, sealed aluminum case |
💡 Pro Tips:
- Always mount outdoor PSUs in a sheltered location (under eaves, or inside a weatherproof box).
- Avoid mounting them flat or with connectors pointing upward — this traps moisture.
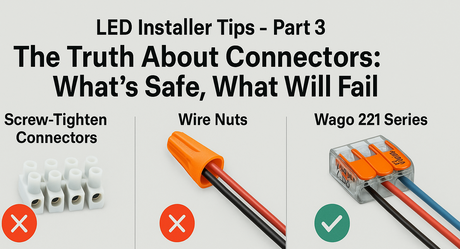
- Use gel-filled wire nuts or IP-rated connectors for safe outdoor terminations.
Match Project to Product Series
- Indoor LED strips: EnoLED XRD, MRD
- Waterproof: Meanwell XLG, HLG
- Smart control: Casambi 160W
- Plug/play: GST, SGA
- High-power: PWM, VersaDrive
- COB: APC
Common Mistakes
- ❌ PSU rating = exact LED load (no margin)
- ❌ Mounted vertically or in sealed boxes
- ❌ Wrong driver type (CV vs CC)
Checklist Summary
- ✅ Calculate load
- ✅ Add 30% margin
- ✅ Mount horizontally
- ✅ Leave airflow space
- ✅ Choose right driver type
- ✅ Pick from W4S product range
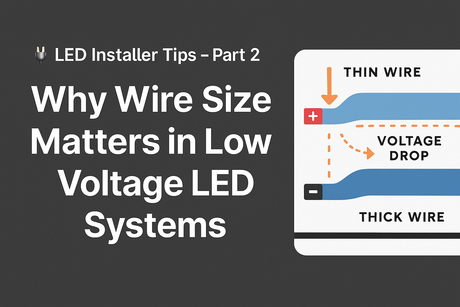
Next: Part 2 – Why Wire Size Matters in Low Voltage LED Systems
