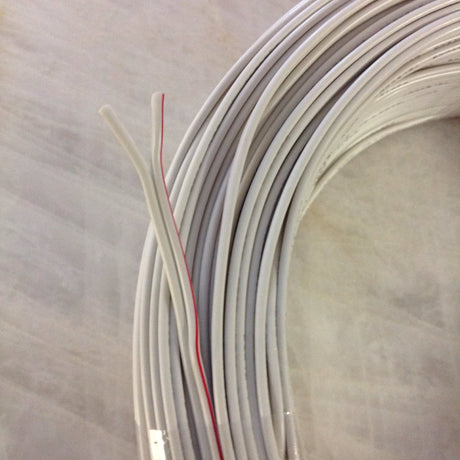
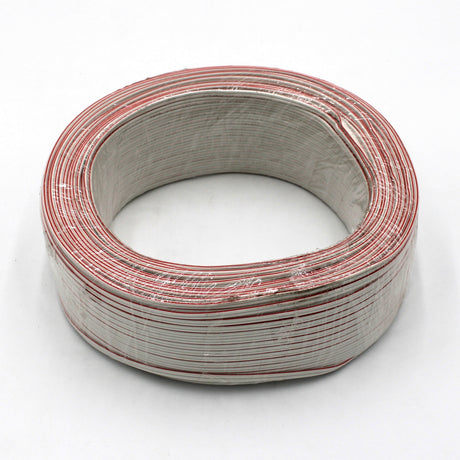
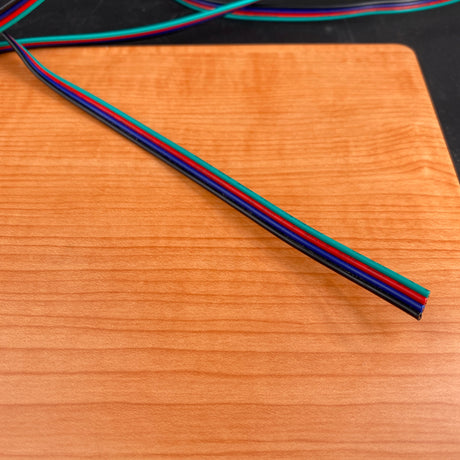
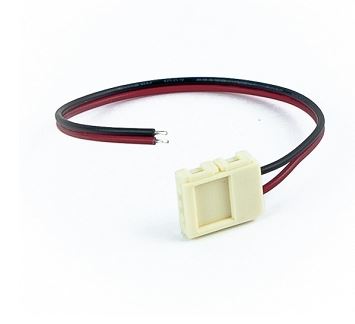
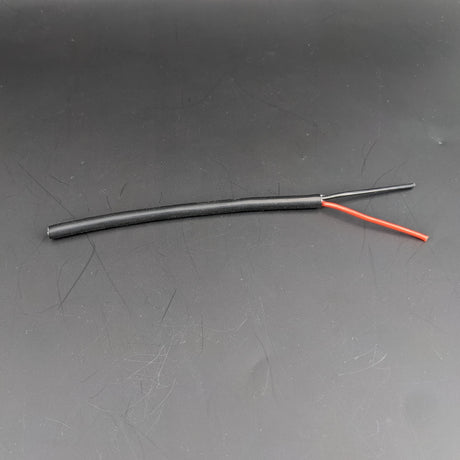
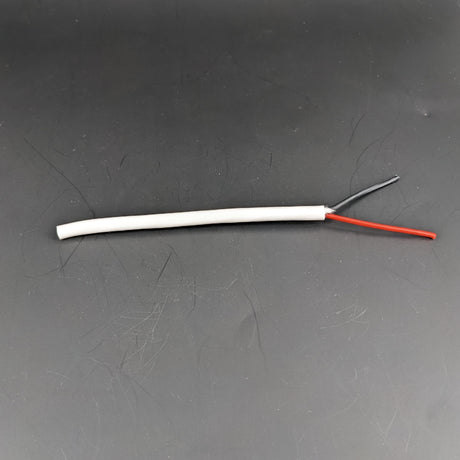
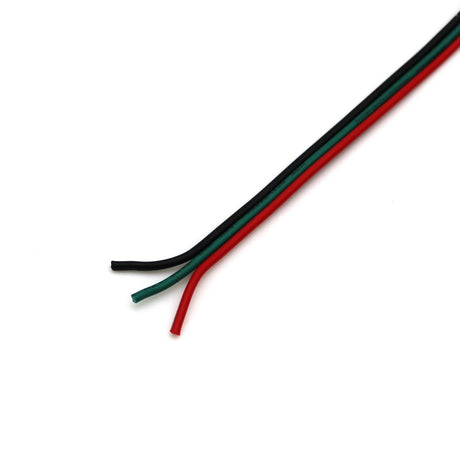
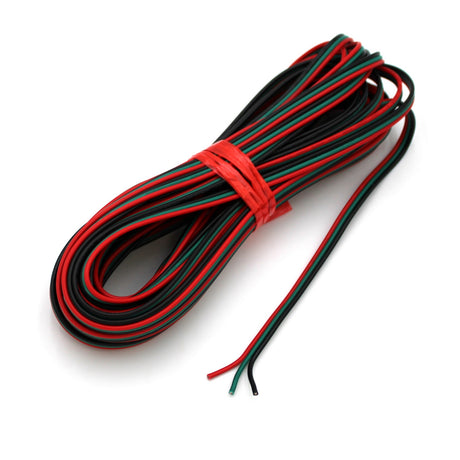
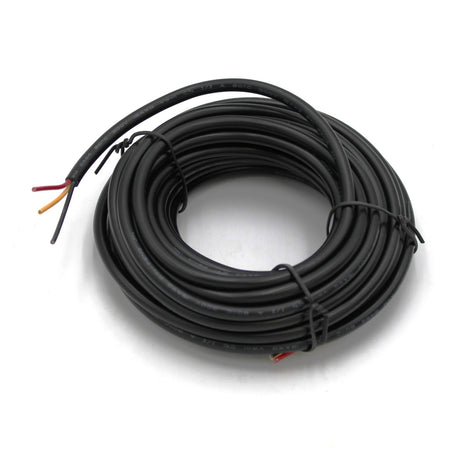
2-Core 18 AWG PVC Flat Ribbon Wire for Single Color LED Strip and Power
Regular priceFrom $0.31 USDUnit priceUnavailable- Regular price $13.80 USDUnit priceUnavailable
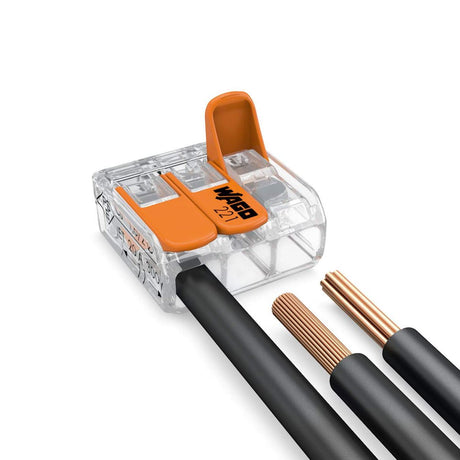
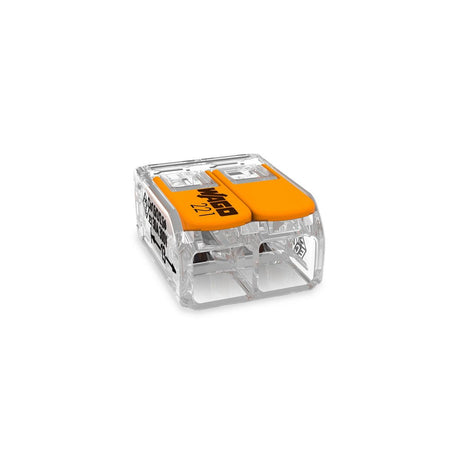
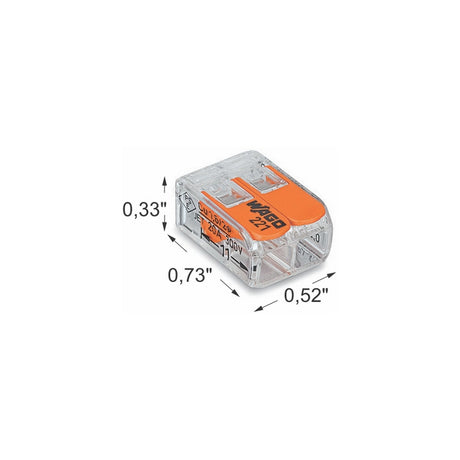
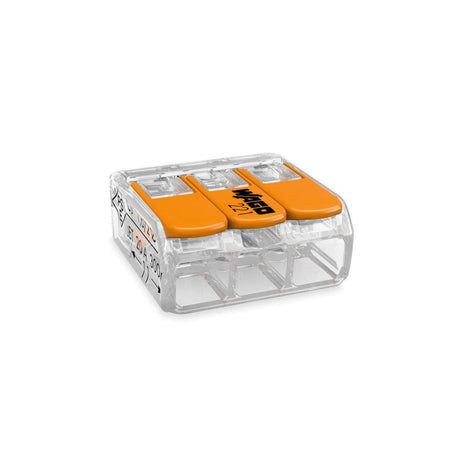
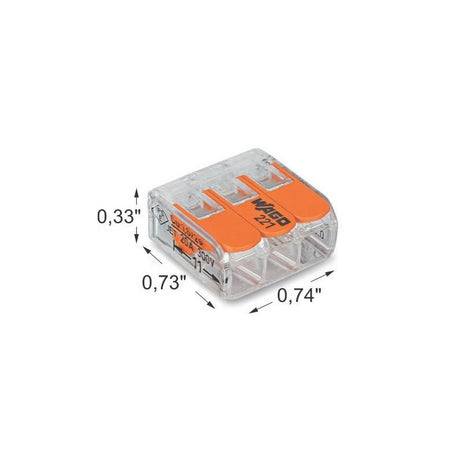
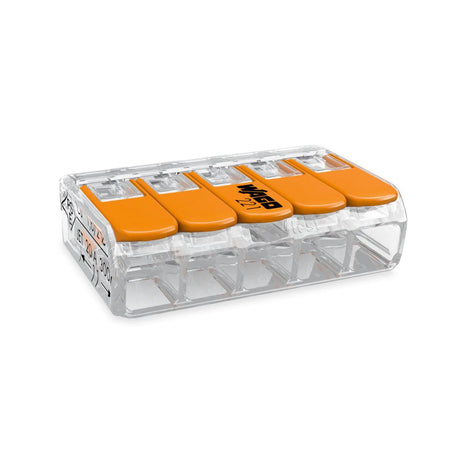
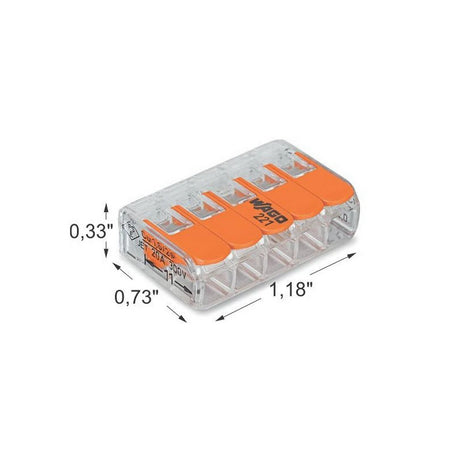
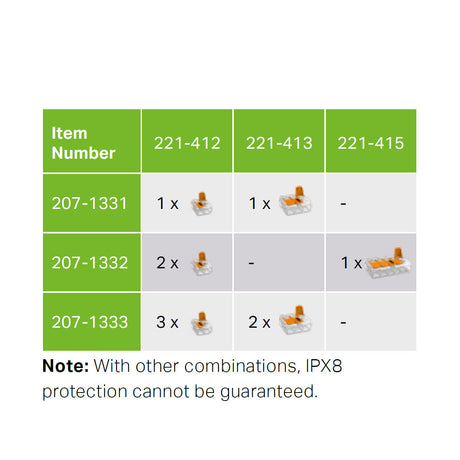
Wago 221 Series Multi-Wire Splicing Lever-Nut Connector
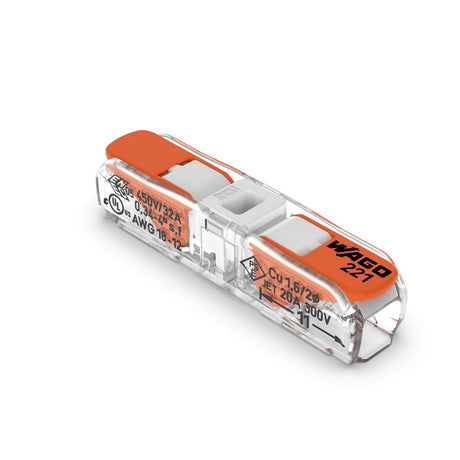
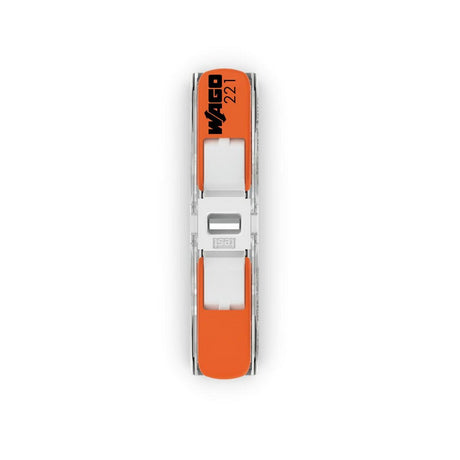
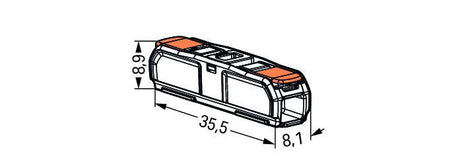
Regular priceFrom $8.03 USDUnit priceUnavailableWago 221 Series Inline Wire Splicing Lever-Nut Connector
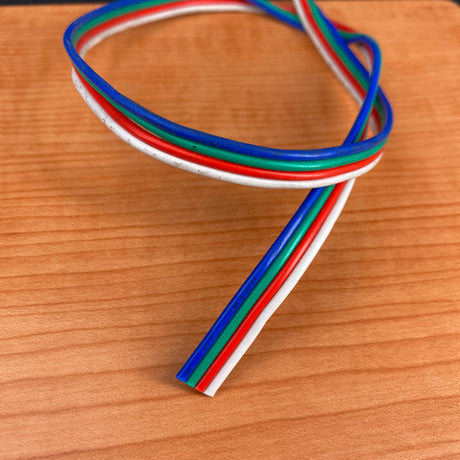
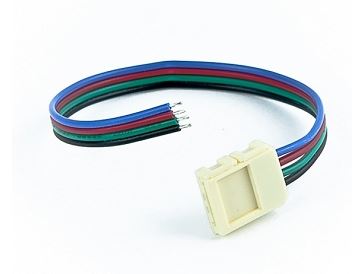
Regular priceFrom $9.66 USDUnit priceUnavailable4-Core 18 AWG PVC Flat Ribbon Wire for RGB LED Strip
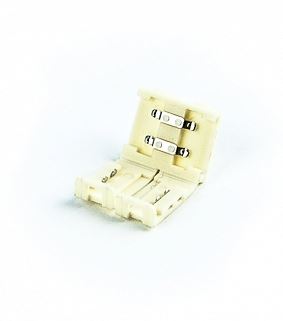
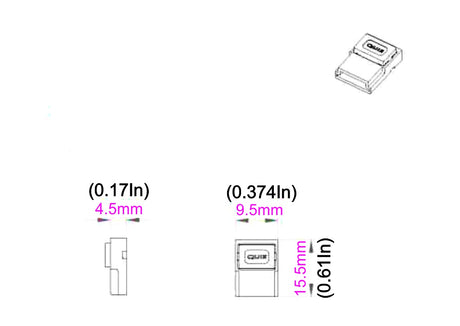
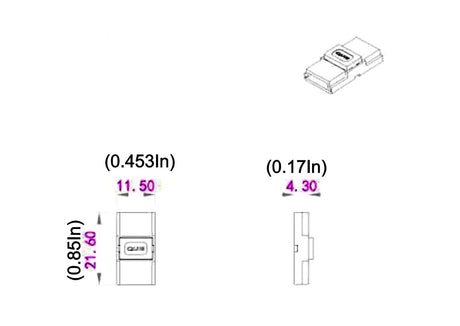
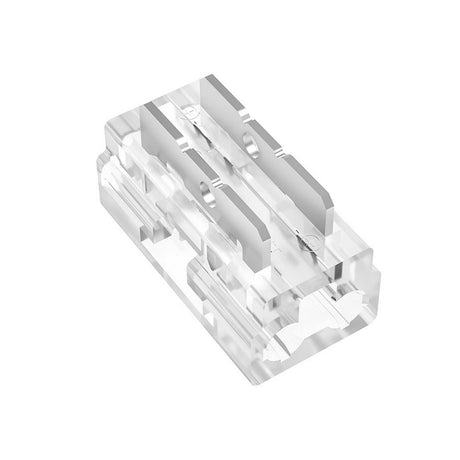
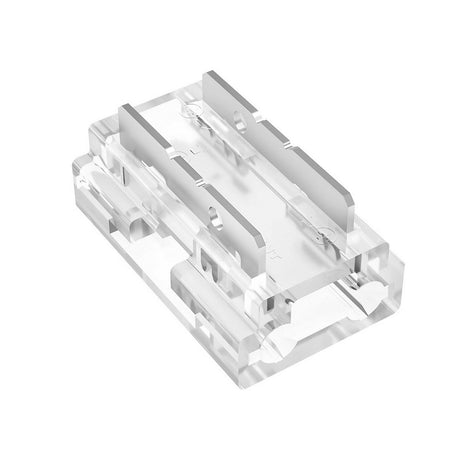
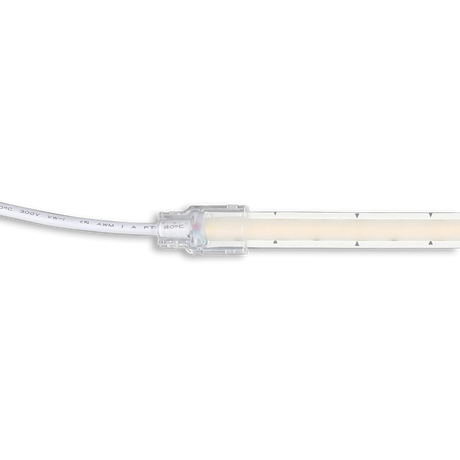
Regular price $0.71 USDUnit priceUnavailable2Pin LED COB Strip Light Connector
Regular price $1.92 USDUnit priceUnavailable- Regular price $16.20 USDUnit priceUnavailable
- Regular priceFrom $3.56 USDUnit priceUnavailable
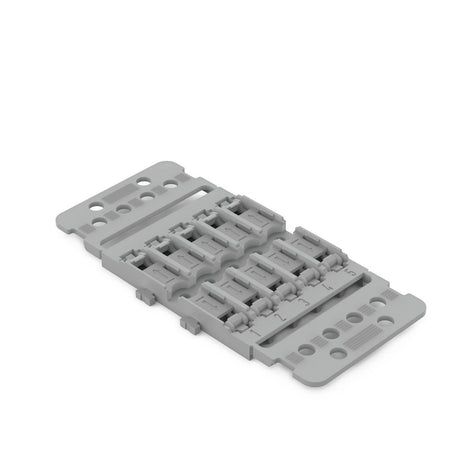
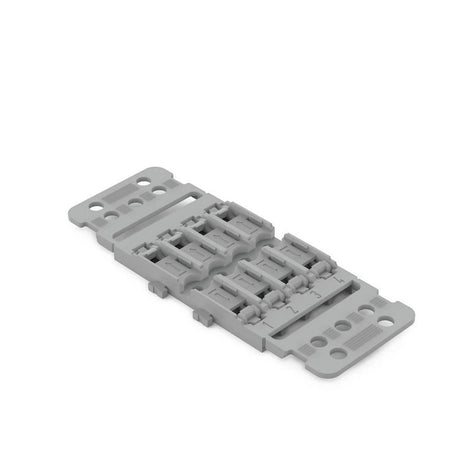
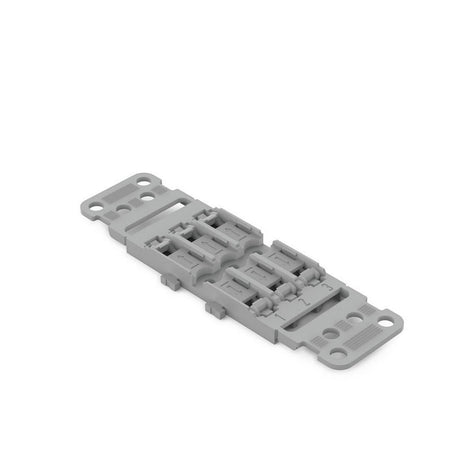
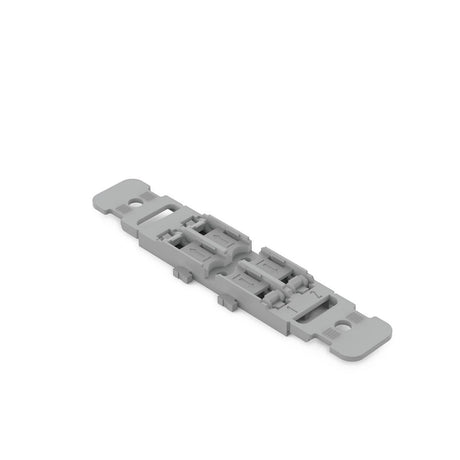
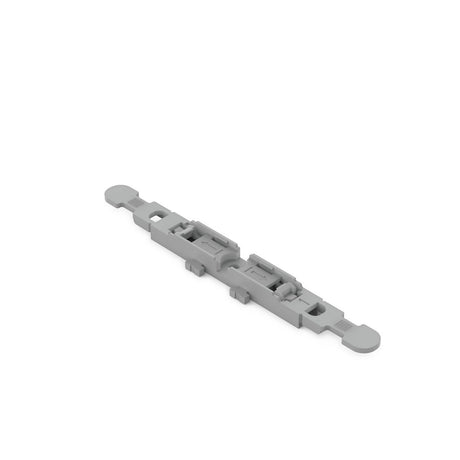
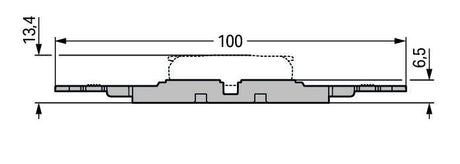
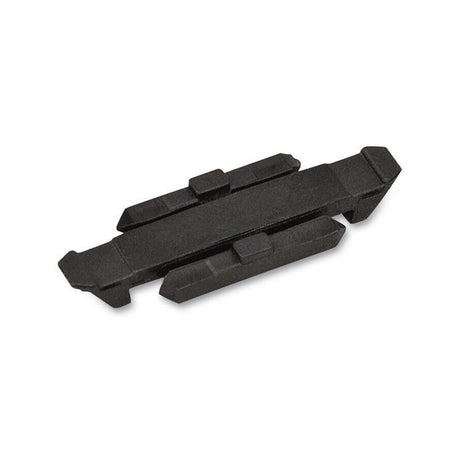
Wago 221 Series Mounting Carrier for Inline Splicing Connector
Regular priceFrom $6.48 USDUnit priceUnavailable2-Core 18 AWG Silicone Sheathed Wire for Single Color LED Strip and Power
Regular price $1.48 USDUnit priceUnavailable- Regular price $1.61 USDUnit priceUnavailable
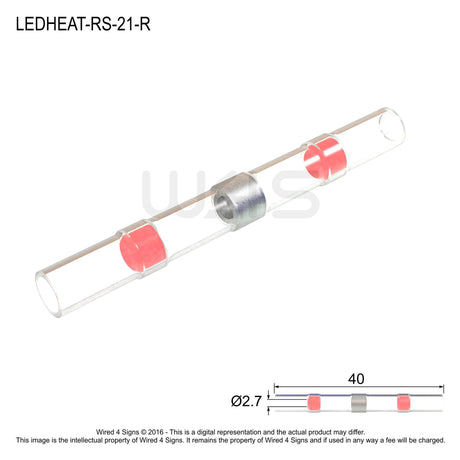
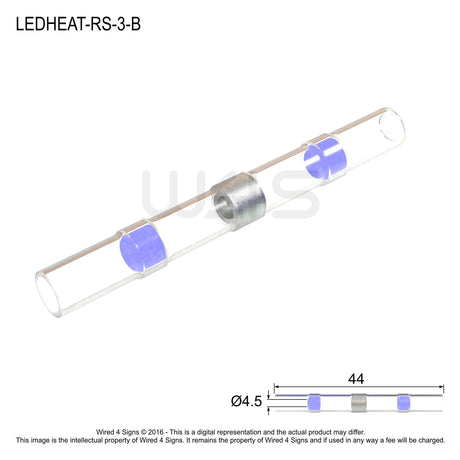
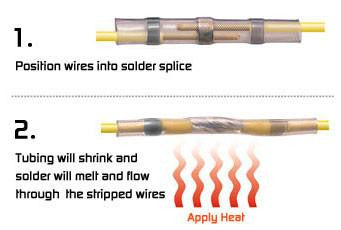
Heatshrink & Solder Connectors
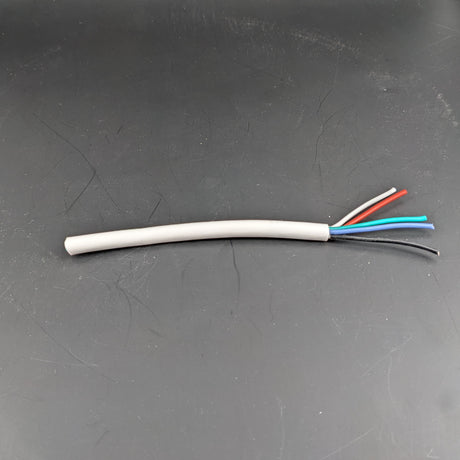
Regular priceFrom $0.41 USDUnit priceUnavailable5-Core 18 AWG Silicone Sheathed Wire for RGBW LED Strip
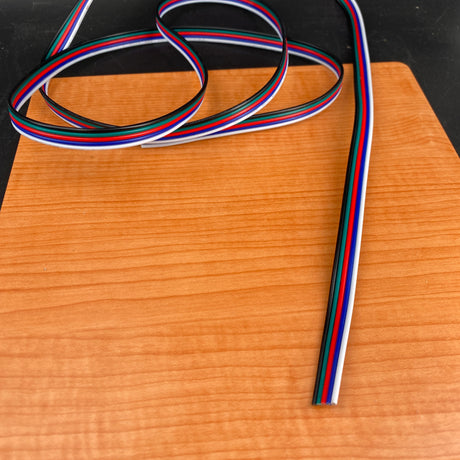
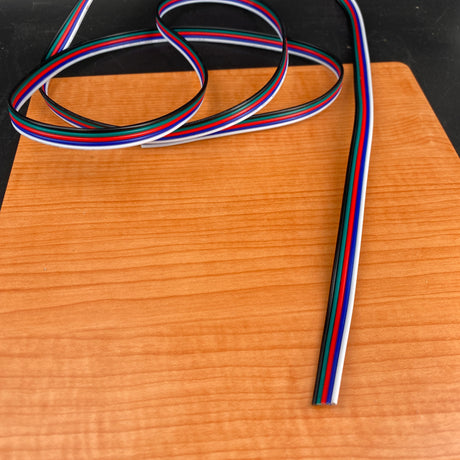
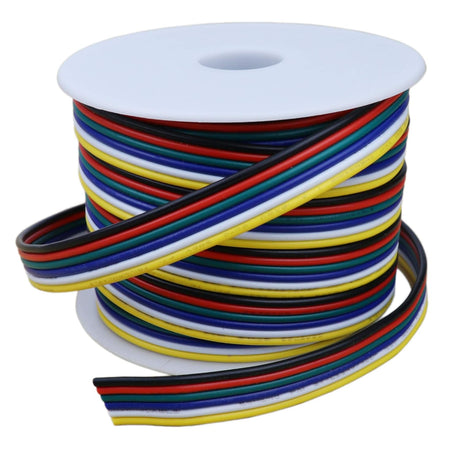
Regular priceFrom $1.74 USDUnit priceUnavailable5-Core 18 AWG PVC Flat Ribbon Wire for RGBW LED Strip
Regular price $1.39 USDUnit priceUnavailable- Regular price $17.40 USDUnit priceUnavailable
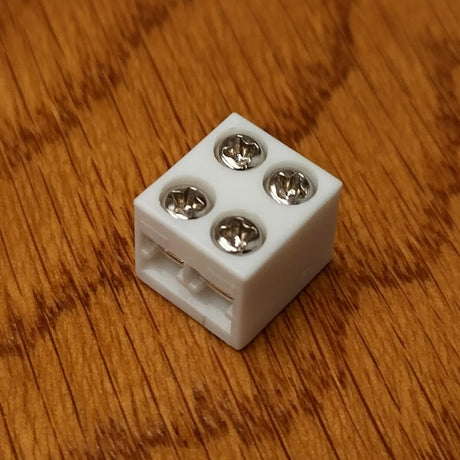
2-Pin Solderless LED Strip Light Screw Connector
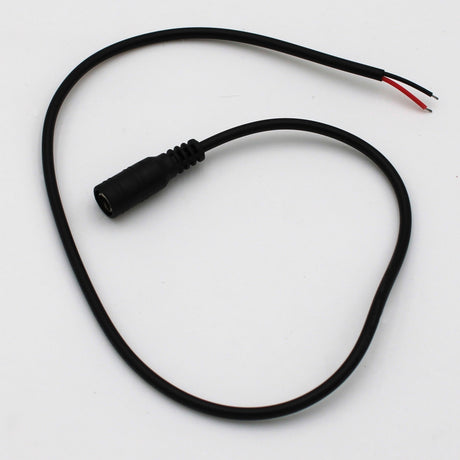
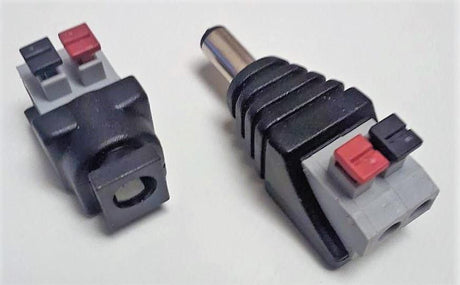
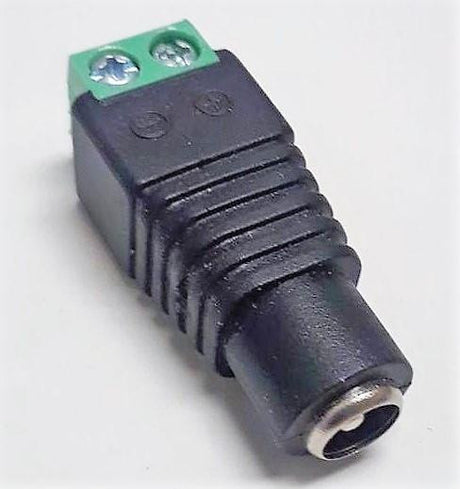
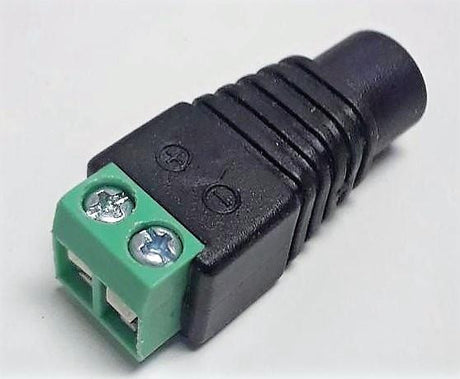
Regular priceFrom $1.48 USDUnit priceUnavailableDC Jack and Plug Screwless Wire Connector
Regular price $2.07 USDUnit priceUnavailable- Regular priceFrom $11.53 USDUnit priceUnavailable
- Regular priceFrom $1.96 USDUnit priceUnavailable
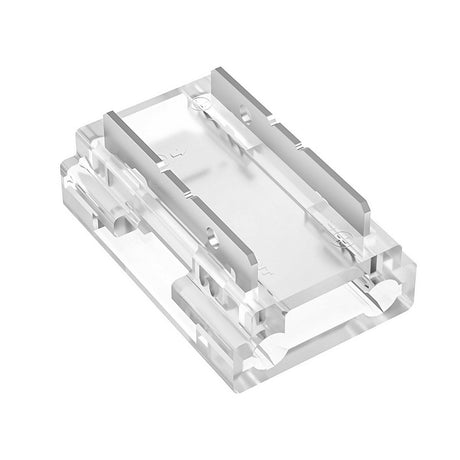
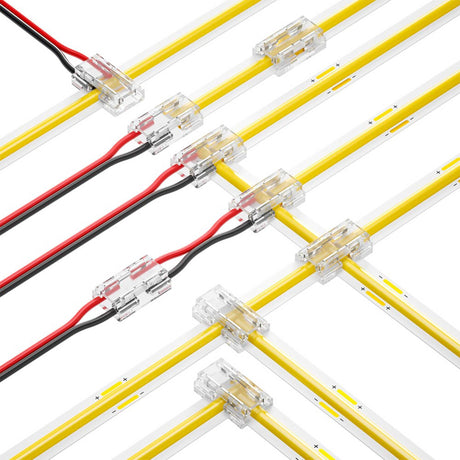
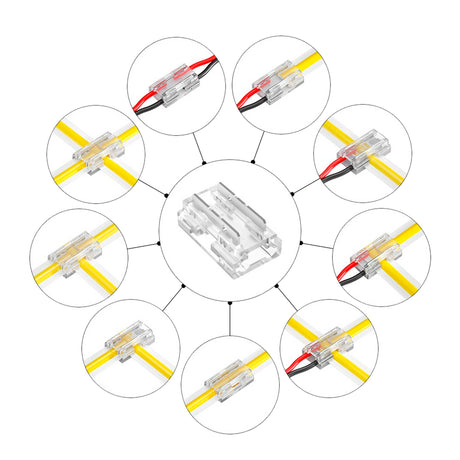
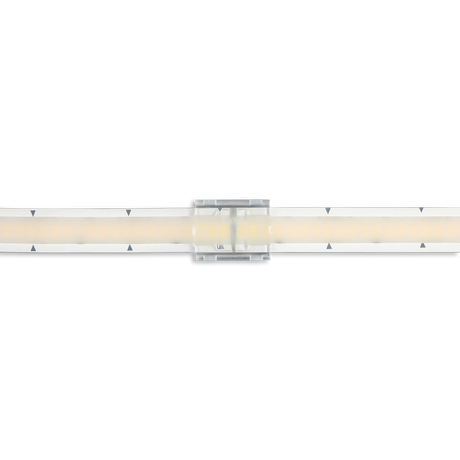
9-in-1 COB LED Strip Light Connector
Regular priceFrom $1.53 USDUnit priceUnavailable1-Pin Plug-in Solderless Wire Connector ~ Pelican Series
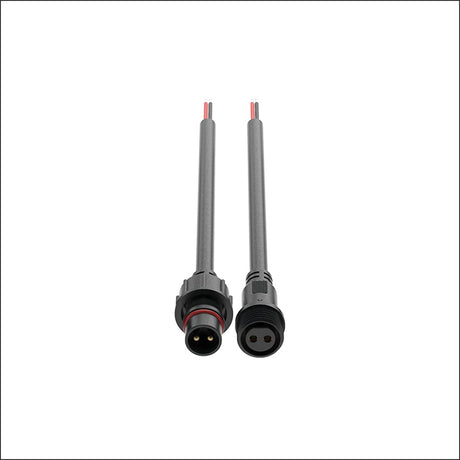
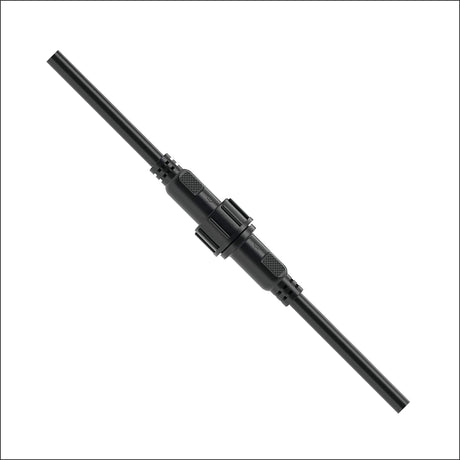
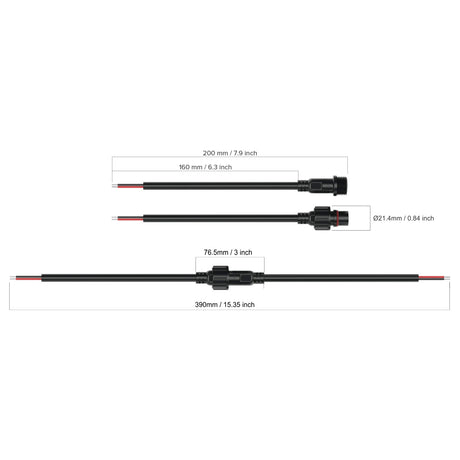
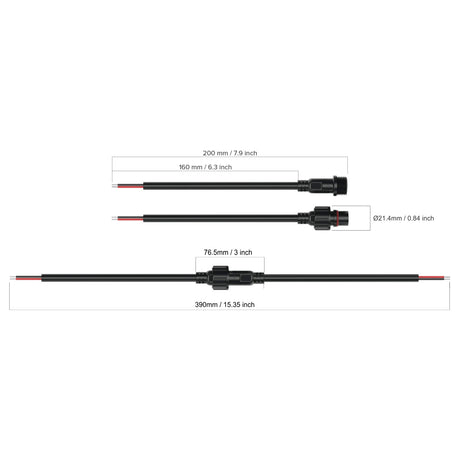
Regular priceFrom $0.99 USDUnit priceUnavailable2Pin Black Waterproof IP65 LED Connector Male Female 40cm/Pair
Regular price $5.08 USDUnit priceUnavailable- Regular price $1.67 USDUnit priceUnavailable
5Pin LED RGBW Strip Light Connector
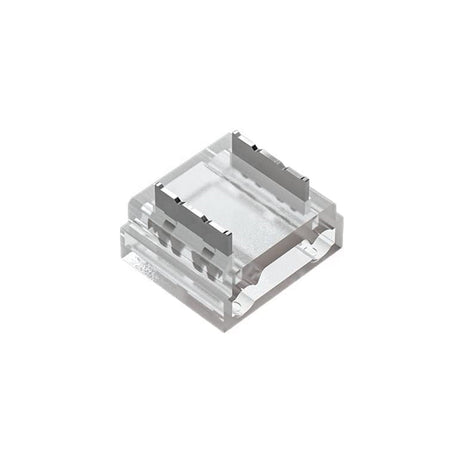
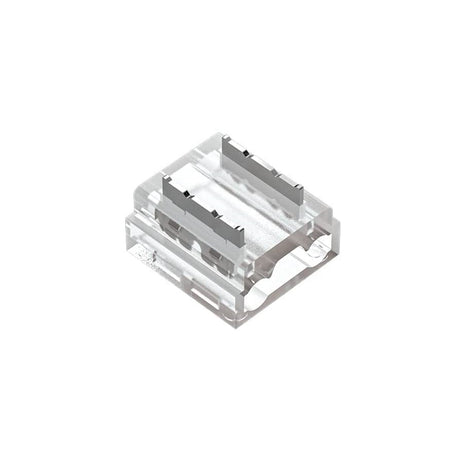
Regular price $2.10 USDUnit priceUnavailableLED RGB COB Strip Light Connector - 4Pin 10mm
Regular price $1.92 USDUnit priceUnavailable- Regular price $15.00 USDUnit priceUnavailable
RGBW 5Pin Black Waterproof IP65 LED Connector Male Female 40cm/Pair
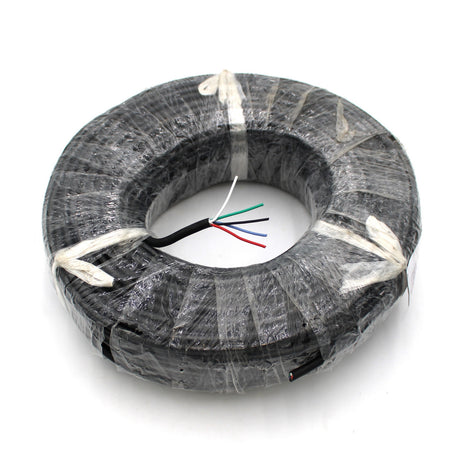
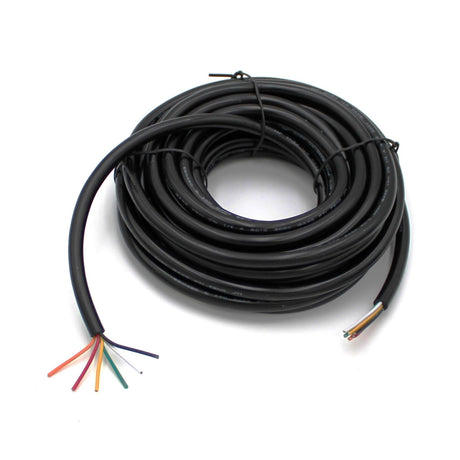
Regular price $5.54 USDUnit priceUnavailable6-Core 18 AWG PVC Sheathed Wire for RGB+TW LED Strip
Regular price $2.33 USDUnit priceUnavailableGlow67 Pro Series LED Strip Light Connector
Regular priceFrom $6.40 USDUnit priceUnavailable- Regular price $1.39 USDUnit priceUnavailable
- Regular price $18.60 USDUnit priceUnavailable
6-Core 18 AWG PVC Flat Ribbon Wire for RGB+TW LED Strip
Regular priceFrom $1.94 USDUnit priceUnavailable- Regular price $1.61 USDUnit priceUnavailable
3-Core 18 AWG PVC Flat Ribbon Wire for Tunable White LED Strip
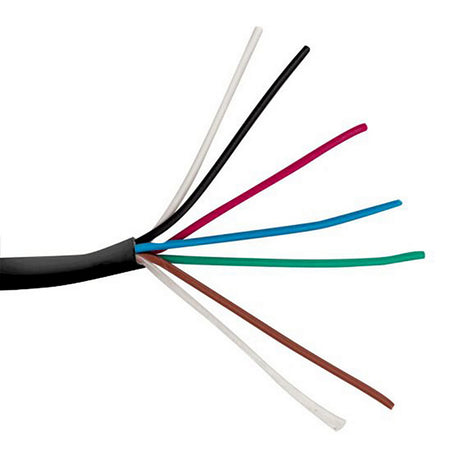
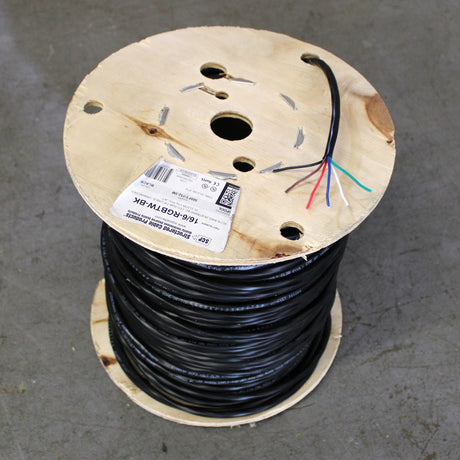
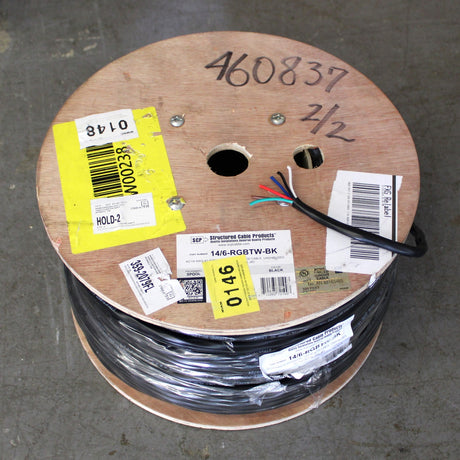
Regular priceFrom $0.69 USDUnit priceUnavailable6-Core 14/16 AWG PVC Sleeved Wire for RGB+TW LED Strip
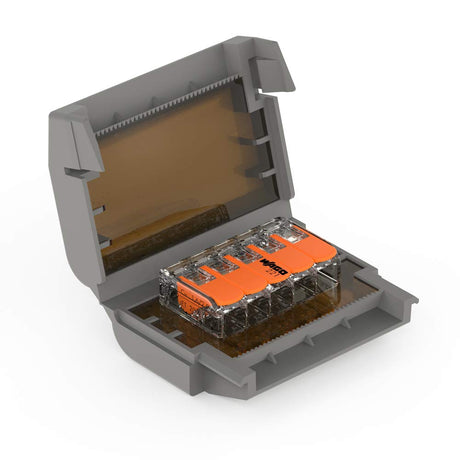
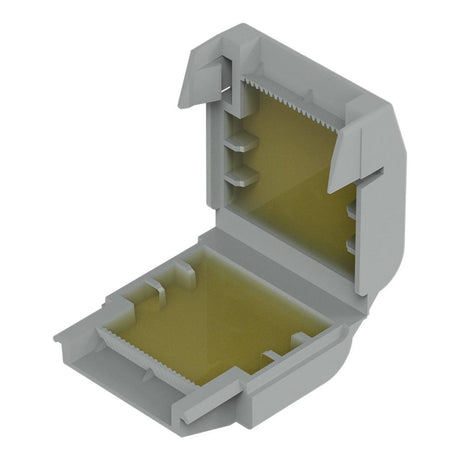
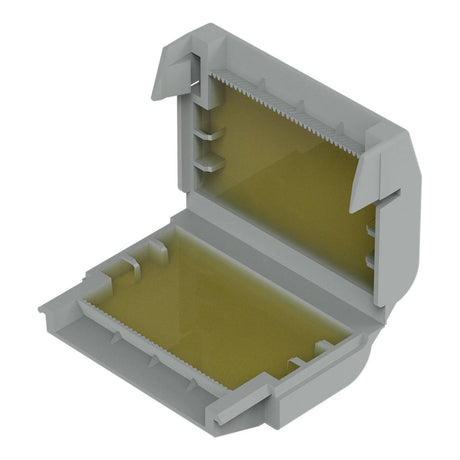
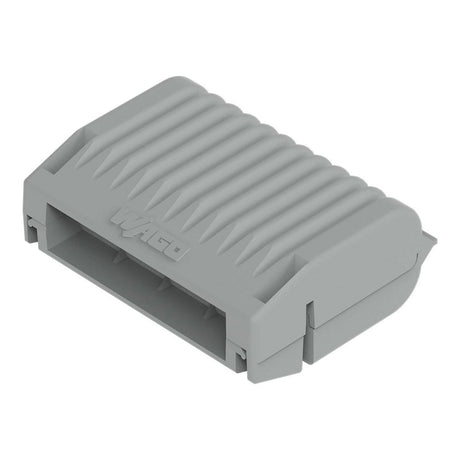
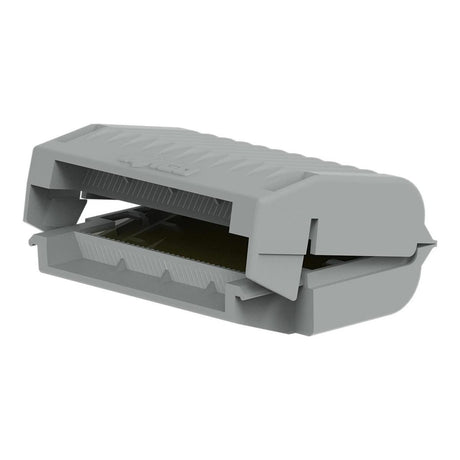
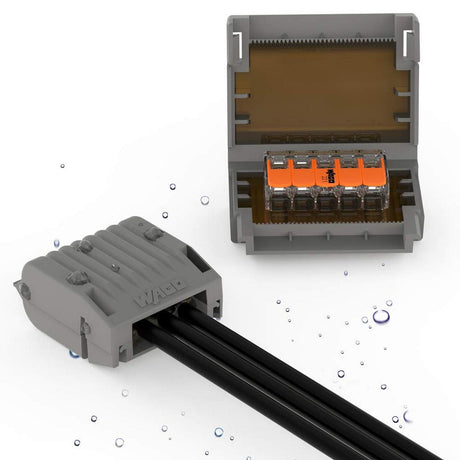
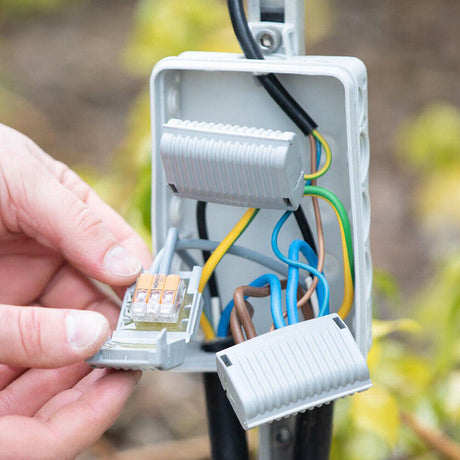
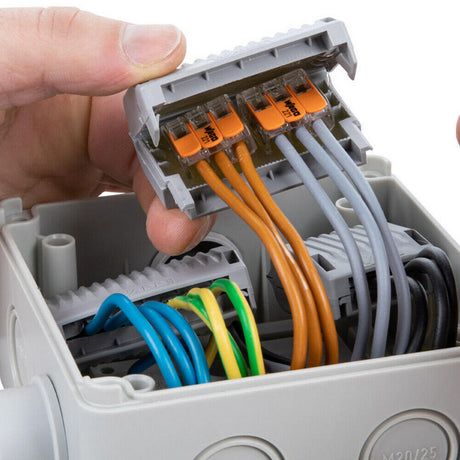
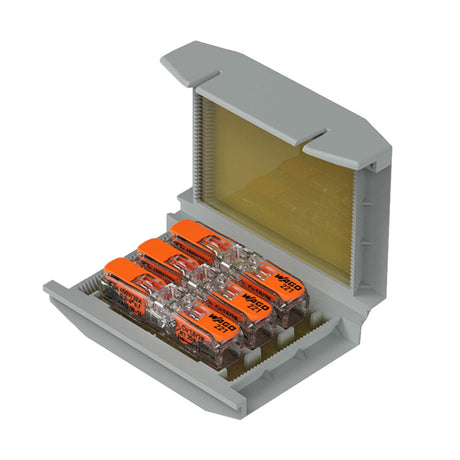
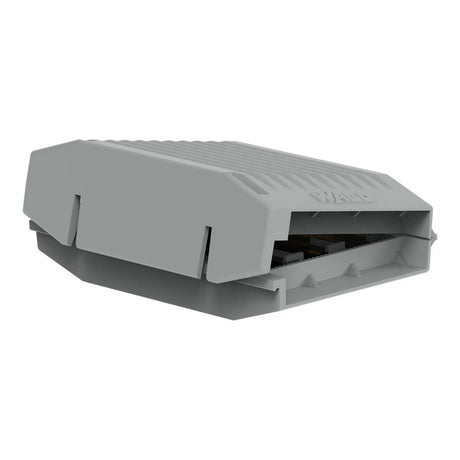
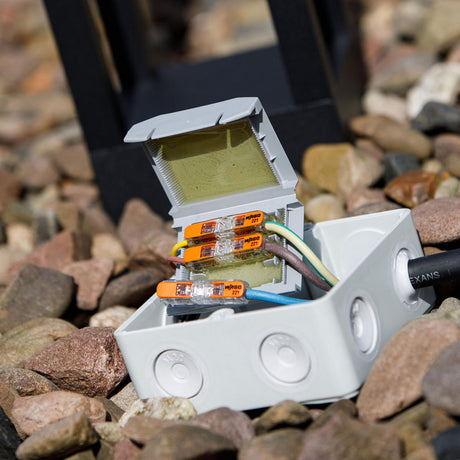
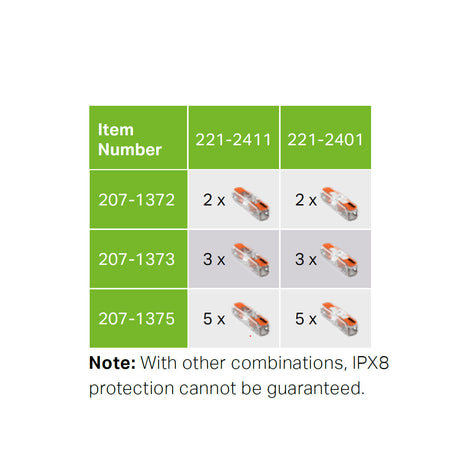
Regular priceFrom $1.31 USDUnit priceUnavailableWaterproof Sealing Gelbox for Wago 221 Splicing Lever-Nut Connectors
Regular priceFrom $47.80 USDUnit priceUnavailable3-Core 18 AWG PVC Sheathed Wire for Tunable White LED Strip
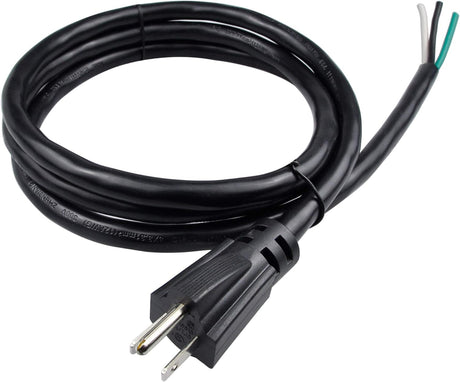
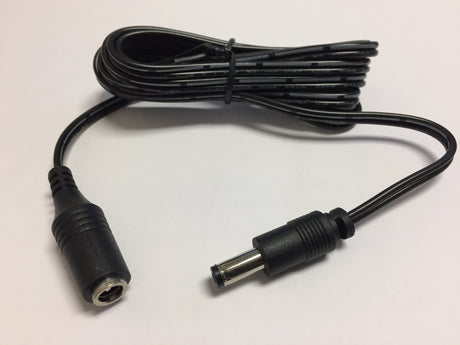
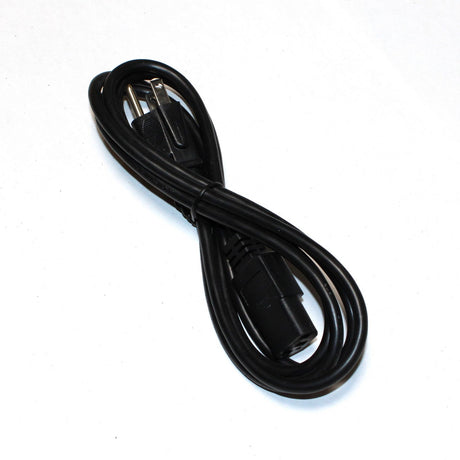
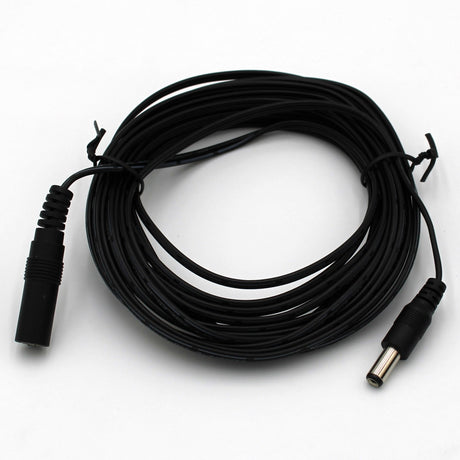
Regular price $1.46 USDUnit priceUnavailable6ft Power Supply Extension Cable
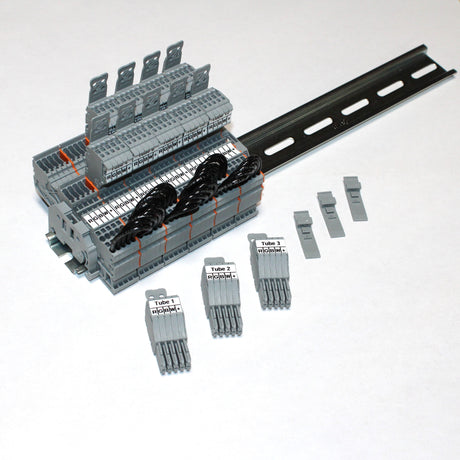
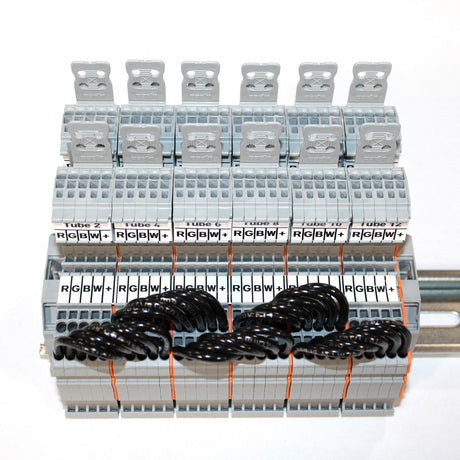
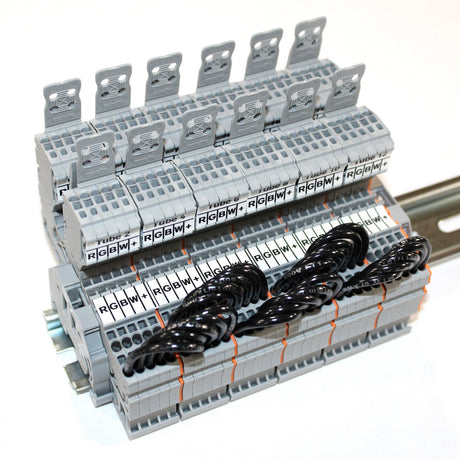
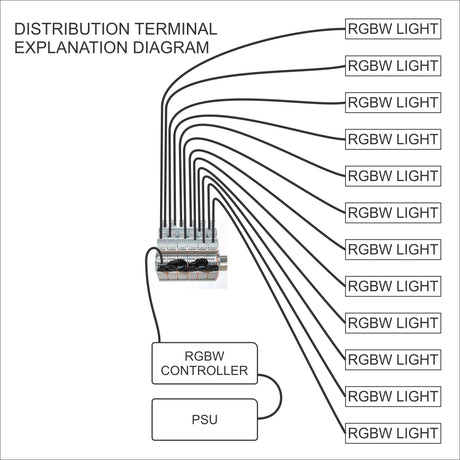
Regular price $8.66 USDUnit priceUnavailableDIN-Rail RGBW Distribution Terminal Block Assembly
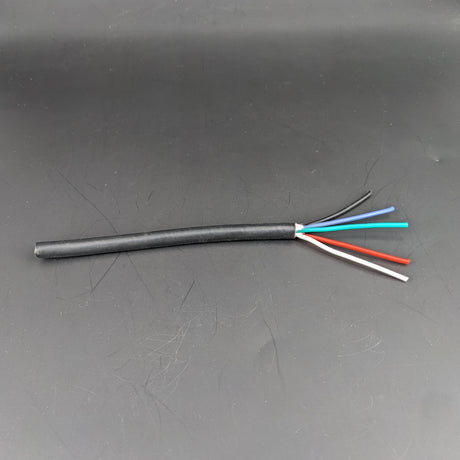
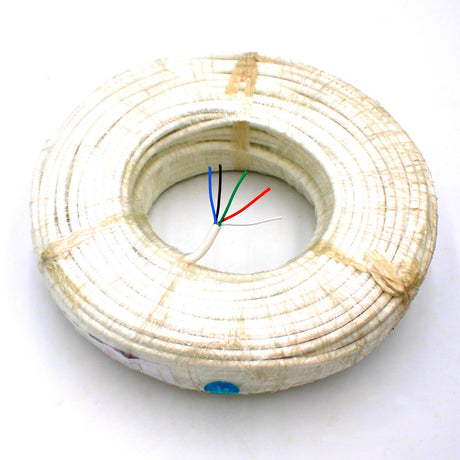
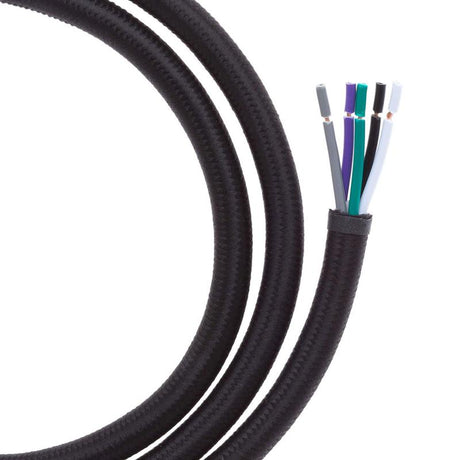
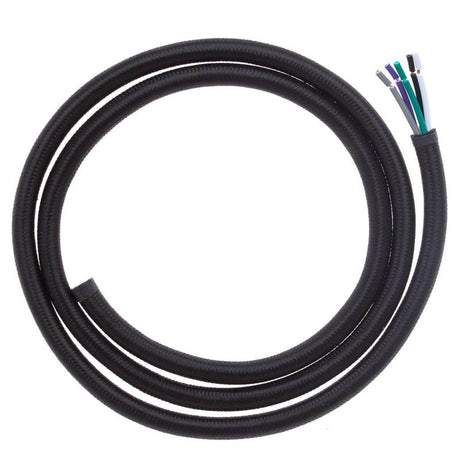
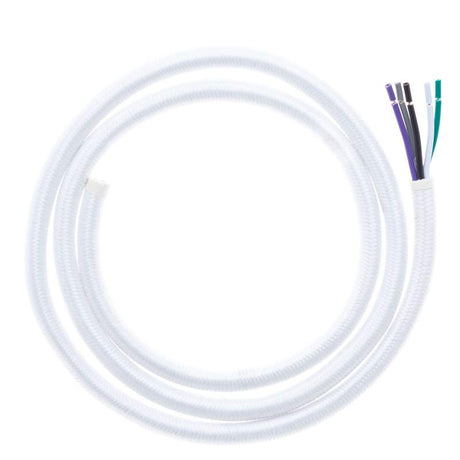
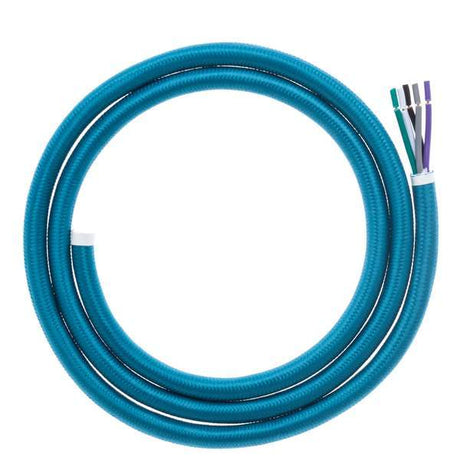
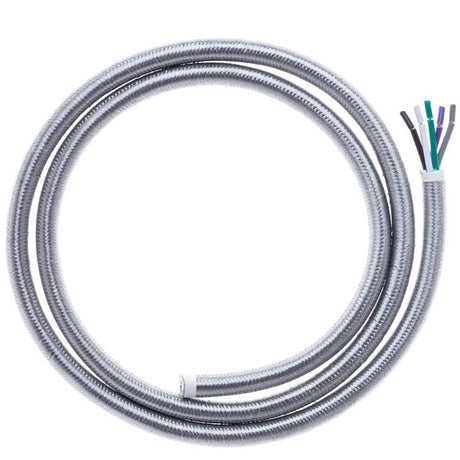
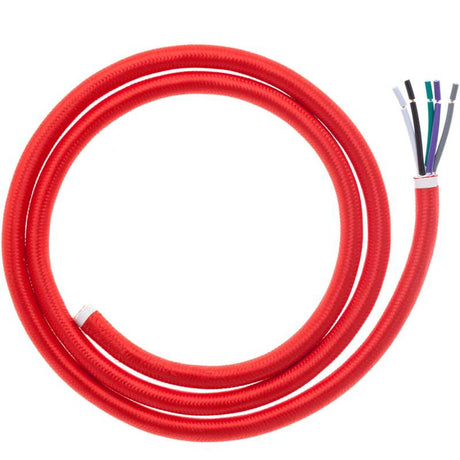
Regular priceFrom $245.58 USDUnit priceUnavailable5-Core 18 AWG Braided Fabric Sleeved Wire for RGBW LED Strip
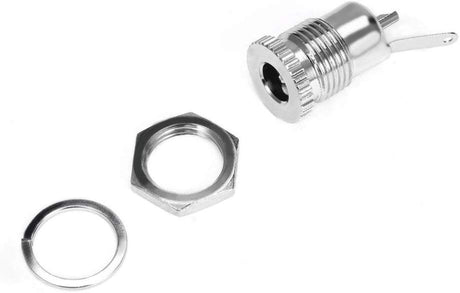
Regular priceFrom $5.04 USDUnit priceUnavailable5.5 mm x 2.1mm 30V 10A DC Power Jack Socket, Threaded Female Panel Mount Connector Adapter
Regular price $4.13 USDUnit priceUnavailable- Regular price $9.84 USDUnit priceUnavailable
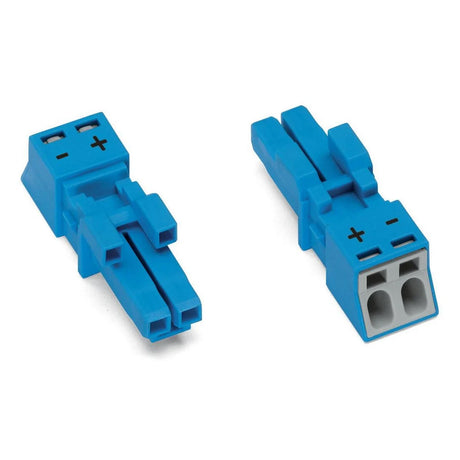
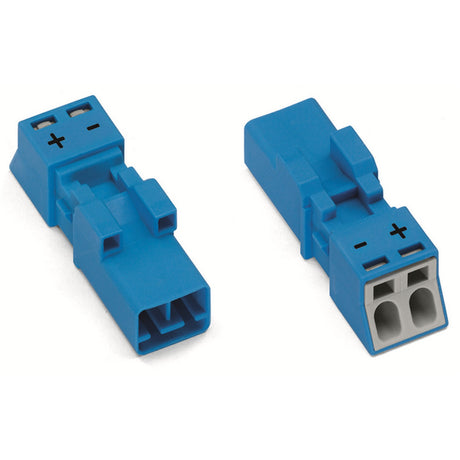
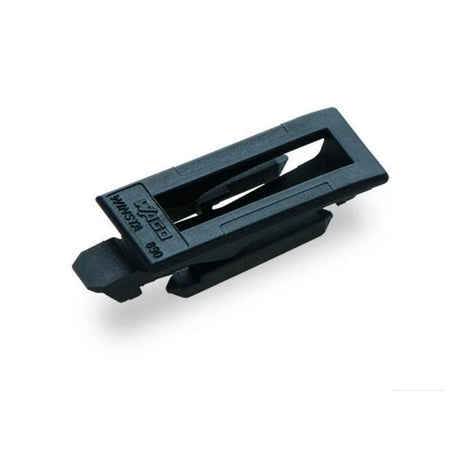
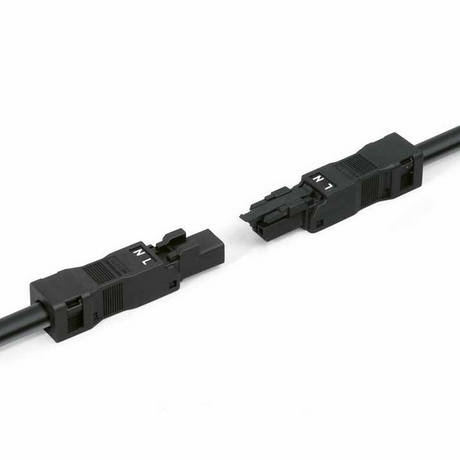
Wago 890 Series Pluggable Connector for Lighting Control
Regular priceFrom $2.91 USDUnit priceUnavailable- Regular priceFrom $13.86 USDUnit priceUnavailable
Power Track Twist Plug Connectors
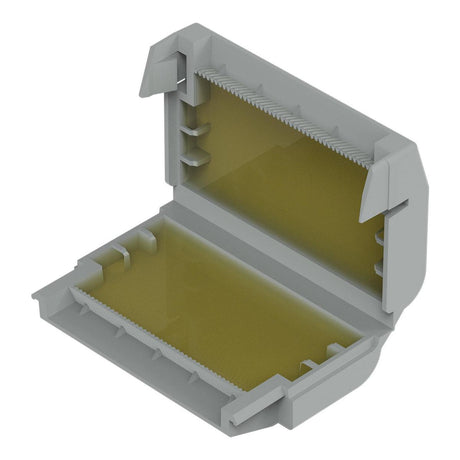
Regular price $5.16 USDUnit priceUnavailableWaterproof Sealing Gelbox for Wago 221 Inline Lever-Nut Connectors
Regular priceFrom $71.36 USDUnit priceUnavailableMicro-Plug Extension Cable - Male to Terminal
Regular price $8.89 USDUnit priceUnavailable- Regular price $43.96 USDUnit priceUnavailable
- Regular price $30.30 USDUnit priceUnavailable
Wago 890 Series Connector Locking Lever
Regular price $0.34 USDUnit priceUnavailable
A Complete Guide for LED Wiring
LED lighting is becoming increasingly popular, as it offers a number of advantages over traditional incandescent and fluorescent lighting. LED lights are more energy-efficient, longer-lasting, and dimmable. However, to ensure that your LED lighting system is installed correctly and operates safely, you need to use the right LED wiring accessories.
Our LED wiring accessories collection includes everything you need to install and maintain your LED lighting system. We have a wide variety of products to choose from, including LED strip connectors, wire, wire connectors, and various cables. We also offer a variety of tools and kits to help you with your installation.
Whether you're a DIYer or a professional electrician, our LED strip wiring accessories collection has everything you need to get the job done right. Wire connectors save you time and money, and once you start using them for your LED lighting installations, you'll never look back. With our products, you can be sure that your LED lighting system will be installed safely and efficiently.
Benefits of using LED wiring accessories
- Increased safety: LED wiring accessories are designed to meet the latest safety standards. This means that you can be sure that your LED lighting system is installed safely.
- Improved performance: LED strip wiring accessories can help to improve the performance of your LED lighting system. For example, LED connectors can help to reduce light loss, and LED dimmers can help you to save energy.
- Extended lifespan: LED wiring accessories can help to extend the lifespan of your LED lighting system. This is because they are designed to ensure quality connections and to withstand the high currents that can be involved in large LED lighting installations.
Types of LED Wiring Accessories
1. Connectors
Connectors are essential LED strip wiring accessories that enable secure and reliable electrical connections between LED strips, modules, or fixtures. They come in various types, such as strip-to-strip connectors, quick connectors, or solderless connectors, offering flexibility in connecting LED components. Connectors ensure proper electrical continuity, allowing for easy installation, maintenance, and reconfiguration of LED lighting systems.
2. Wires and cables
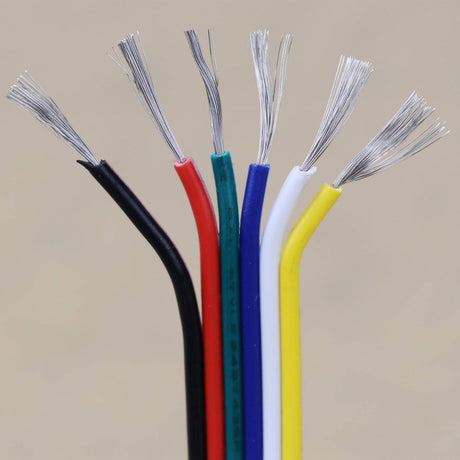
Wires and cables serve as the backbone of LED wiring, transmitting electrical power and signals between different LED components, power sources, and control devices. They come in different gauges and types, such as stranded or solid core wires. These accessories ensure efficient power delivery and signal integrity while offering flexibility for routing and installation in various lighting applications.
3. Adapters and converter
Adapters and converters play a vital role in LED lighting systems by converting voltage or signal type to match the specific requirements of LED components. They allow seamless integration of LED lights with different power sources, such as AC to DC adapters, or signal converters for compatibility with dimmers or control systems. These accessories ensure compatibility and safe operation of LED lighting in diverse environments.
4. Controllers and dimmers
Controllers and dimmers provide users with control options to adjust brightness, color, or effects of LED lights. Controllers range from basic switches to advanced programmable devices, allowing for dynamic lighting schemes, color-changing effects, and automated schedules. Dimmers enable precise adjustment of light intensity, creating desired ambiance or mood. These accessories add versatility and personalization to LED lighting systems.
5. Mounting hardware
Mounting hardware includes brackets, clips, screws, or adhesive solutions used to securely attach LED fixtures, strips, or modules to different surfaces. These accessories provide stability and proper positioning of LED lights in various applications, such as recessed lighting, under-cabinet lighting, or architectural illumination. Mounting hardware ensures a clean and professional installation while offering flexibility for adjustments or removal when needed.
6. Power supplies
Power supplies, also known as LED drivers, convert AC power into the DC power required for LED lighting. They provide a stable and regulated electrical current to ensure proper operation and longevity of LED components. Power supplies come in different forms, including constant voltage or constant current drivers, and they may offer additional features like dimming capabilities or energy efficiency. These accessories are crucial for safe and reliable operation of LED lighting systems.
LED Wiring: Installation and Maintenance Tips
Proper wiring installation is essential for avoiding common LED light issues.
- Do not bend the strips. The wiring in LED strips is thin and can be damaged by bending. Instead, cut the strip at the designated cutting marks and use connectors to join the strips at corners.
- Choose the right voltage for all components. LED strips are available in 12-volt and 24-volt varieties. Choose the voltage that is appropriate for your application and make sure that all of the components, such as the power supply, are also rated for that voltage.
- Plan before you place your lights. Consider the length of the strips, the surface you are mounting them to, and the location of the power supply before you make any wiring decisions. This will help you avoid making mistakes and ensure that your lights are properly installed.
- Determine whether you need waterproof lights. If you are installing your lights outdoors or in a damp area, you will need to choose waterproof lights. Waterproof lights have an IP rating of at least IP-67, which means that they are protected from water ingress.
- Use the right connectors. Make sure that you use connectors that are compatible with your LED strips and that they are securely attached to the strips. Improper connectors can cause connection problems and even damage the strips.
- Choose the right power supply. The LED power supply converts the alternating current from your power source to the direct current needed by your LED lights. When choosing a power supply, you will need to consider the features of your lights, such as whether they are colored, waterproof, or dimmable. You will also need to choose a power supply that is rated for the correct voltage and amperage.
- Wattage: The label on your strip lights lists the watts required to power 1 foot of the strip. Multiply that rating by the total number of feet you will use to calculate the total watts the strip will use.
- Voltage: The lights you choose specify the voltage requirements. Most lights need either 12 or 24 volts. Choose a power supply that matches the voltage requirements of your lights.
- Choose the Right LED Drivers: LED drivers come in two main types. Constant current drivers maintain a continuous flow of electrical current by varying the voltage. These drivers have milliamps or amps ratings and are wired in series.
- Constant voltage drivers: alter the current to maintain consistent voltage. These drivers have voltage or direct current ratings and are wired in parallel. Constant voltage drivers can help avoid LED burnout, create more consistent brightness and provide easier application control.
- Decide Between 24-Volt vs 12-Volt LED Strips: The main determinant of whether you need 24v or 12v wiring in LED lights is how you plan to use them. First, determine how much light output you need. Next, consider how you intend to power the lights.
- Check Your Strips Periodically: Visually inspect your illumination periodically to check for lights that are not working or are dull or flashing. If you spot a problem, check the troubleshooting section of this guide for solutions.
- Check Your Connection Points: If your lighting is in a high-traffic area, connectors may get knocked out of place. Regularly check your connection points to ensure the connection is tight and all of the pins are hitting their contacts.
How to Avoid Common Wiring Problems with LED Lights
If your LED light strips are not working properly, there are several common wiring problems that you can check for.
- Wrong type of strip for the length of the run: If you are running an LED light strip for more than 30 feet, you need to use a strip with 24V wiring. Otherwise, there may not be enough power to properly light the entire strip. Check the maximum length limit of your strip before you install it.
- Dim sections: If sections of your LED strip are dimmer than the rest, the run is probably too long for the strips or the wiring. To avoid this, use the most direct route when wiring your strips and make sure you are using the correct gauge of wire. If you run the wires too far or the wire is too thin, it may cause a voltage drop.
If you have used the most direct route and the correct gauge wire but are still having problems, you probably need to make the run shorter. Locate your power supply in a central area of the room and spread your strips out from the middle to reduce the run lengths.
- Damaged sections: If you have a dark section in the middle of your LED strip, your lights may have wiring damage or there may be a poor connection. The easiest way to fix this problem is to cut the damaged section out and replace it by using solderless connectors.
- Flickering lights: A defective power supply unit can cause the lights in your strip to flicker because of inconsistent voltage. The power supply may also make noise or get hot. To fix the problem, replace the power supply.
LED Strip Light Connectors: The Easy Way to Connect Your Lights
When it comes to enhancing the ambiance of your living space with LED strip lights, the right connectors can make all the difference. LED light connectors provide a convenient and hassle-free solution for seamlessly connecting your lights.
Whether you're using a 4 pin LED strip connector, strip lighting connectors, or RGB light strip connectors, these versatile accessories ensure a secure and efficient connection every time. With LED wire connectors, you can effortlessly join different sections of your LED strip lights, allowing you to customize and shape the lighting to fit your desired aesthetic.
Plug in LED lights can be easily connected using LED strip light connectors, providing a convenient and hassle-free way to set up your lighting. With these connectors, you can quickly and securely join your LED strips, making the installation process a breeze.
Whether you're a DIY enthusiast or a professional, these connectors make installation a breeze, saving you time and effort. Elevate your lighting setup with LED strip light connectors, the easy way to connect and transform your space.
Wiring Diagram for LED Strip Lights
The LED light strip wiring diagram provides a clear guide for both LED lights strips and hardwired installations. To begin, gather the necessary components: the LED light strip, power supply, and any additional accessories like connectors or switches. For plug-in LED lights, simply connect the LED strip to the power supply using the provided plug.
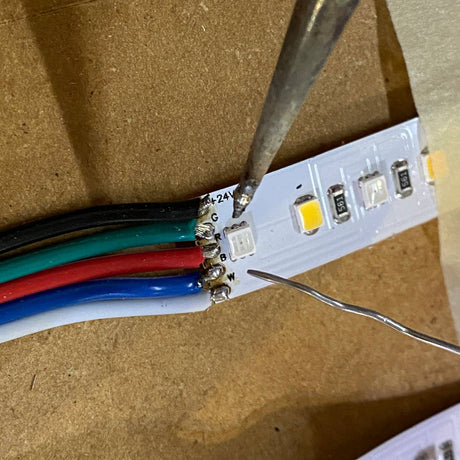
For hardwired LED strip lights installations, cut the LED strip to the desired length and strip the ends of the wires. Then, connect the positive (+) and negative (-) terminals of the LED strip to the corresponding terminals of the power supply, ensuring proper polarity. If needed, use connectors for a secure and tidy connection.
Once all connections are made, test the LED strip before permanently securing it in place. Following the LED strip light wiring diagram and these steps will ensure a successful and safe installation for your LED lighting project.
Wiring LED Strip Lighting to Existing Wall Switch
Before starting, gather all the necessary materials, including the LED strip lights, a power supply (12V), a screwdriver, wire strippers, electrical tape, and the wiring diagram for LED strip lights.
-
Safety First: Always turn off the power supply to the existing wall switch at the circuit breaker to ensure your safety while working with electrical components.
-
Identify Existing Wiring: Carefully remove the faceplate of the existing wall switch to access the wiring behind it. Take note of the wires connected to the switch: typically, there will be a live (hot) wire, a neutral wire, and a ground wire.
-
Prepare LED Strip Lights: If your LED strip lights are not already cut to size, measure and cut them to fit the area where you want to install them. Some LED strips can be cut at specific intervals indicated on the strip.
-
Strip the Wires: Use the wire strippers to strip a small portion of the insulation from the ends of the LED strip's wires. Be careful not to cut the wires themselves.
-
Connect to Power Supply: Find the positive (+) and negative (-) terminals on the power supply. Connect the positive wire from the LED strip to the positive terminal of the power supply, and similarly, connect the negative wire from the LED strip to the negative terminal of the power supply. Secure the connections using wire nuts or electrical tape.
-
Refer to Wiring Diagram: Use the LED strip light wiring diagram to identify the correct wire colors and connections. Depending on the type of LED strip and power supply you have, the wiring configuration may vary (3-wire or 5-wire).
-
Hardwiring LED Strip: Now, it's time to hardwire the LED strip to the existing wall switch. Locate the live (hot) wire in the wall switch's electrical box and disconnect it from the switch.
-
Connect LED Strip to Wall Switch: Connect the positive wire from the LED strip to the live (hot) wire in the electrical box and the negative wire to the neutral wire. If there is a ground wire present, connect it to the ground wire from the LED strip.
-
Secure Connections: Carefully wrap the connections with electrical tape or use wire nuts to secure them properly, ensuring there are no exposed wires.
-
Test and Finalize: With all the connections made, carefully tuck the wires back into the electrical box and attach the faceplate to the wall switch. Turn the power back on at the circuit breaker and test the LED strip lights by toggling the wall switch.
-
LED Strip Lighting Ideas: Now that your LED strip lights are wired to the wall switch, get creative with the various ways you can use them to illuminate your space. Consider installing them under cabinets, along staircases, or behind furniture to add a stunning and modern ambiance to your home or workspace.
Remember, if you're unsure about any step or dealing with electrical wiring for the first time, it's best to consult a licensed electrician to ensure the wiring is done safely and correctly.
How to install LED Power Supply
To install an LED power supply, follow these steps:
-
Choose the right power supply: Select a power supply that matches the voltage and current requirements of your LED lights.
-
Shut off power: Turn off the power to the circuit where you'll install the LED power supply.
-
Mount the power supply: Securely mount the power supply in a suitable location. Ensure proper ventilation and avoid exposing it to water or extreme temperatures.
-
Connect AC input: Connect the AC input wires from the power supply to the main power source. Follow the manufacturer's instructions and local electrical codes.
-
Connect DC output: Connect the DC output wires from the power supply to the LED lights. Pay attention to polarity (positive to positive, negative to negative).
-
Secure connections: Use wire connectors or soldering to make reliable connections and insulate them properly.
-
Test the installation: Turn on the power and test the LED lights to ensure they work correctly.
-
Finalize and tidy up: Secure all wires and components, making sure nothing is exposed or poses a safety hazard.
Always exercise caution when working with electrical components and, if unsure, consult a licensed electrician for assistance.
How to do corners with LED lights
To create corners with LED lights, use flexible LED strip lights that can bend around corners. Cut the strip at the designated corner point (follow manufacturer guidelines). For 90-degree corners, carefully bend the strip at a right angle, ensuring no damage to the circuit. Alternatively, use corner connectors specifically designed for LED strips. For more complex angles, consider using soldering or connectors made for custom installations. Test the LED strip after installation to ensure proper functionality.
How to connect LED lights without connectors
Connecting LED lights without connectors is still achievable with a few simple steps.
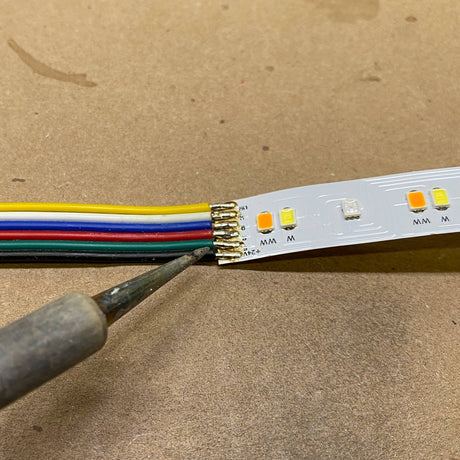
- Begin by cutting the LED light strip to the desired length, ensuring to make clean and precise cuts. Strip a small portion of the insulation from the ends of the LED strip to expose the copper pads.
- Next, identify the positive (+) and negative (-) terminals on both the LED strip and the power source.
- Align the exposed copper pads with the corresponding terminals on the power source and secure them together using electrical tape or soldering. Be mindful of the polarity to avoid any damage.
- Once the connections are made, carefully insulate the joint to prevent any short circuits or exposed wiring.
- Finally, test the LED lights to ensure they are functioning correctly.
While connectors may offer convenience, connecting LED lights without them is a viable alternative with proper attention to detail and electrical safety.
How do you wire 100 ft LED strip lights for proper installation and operation
To wire 100 ft LED strip lights for proper installation and operation, determine the total voltage and current requirements, choose an appropriate power supply, cut the strip into sections if needed, connect the positive (+) and negative (-) terminals to the power supply, and test the setup before mounting it permanently. Ensure proper polarity and use connectors or soldering for secure connections.
Why Buy LED Wiring Accessories To Us?
- We offer a diverse selection of LED wiring accessories, including LED light connectors, LED strip connectors, and RGB light strip connectors, catering to various needs and preferences.
- Our LED wiring accessories are known for their exceptional quality and reliability, ensuring long-lasting performance and satisfaction.
- Our LED strip wiring accessories are designed with user-friendliness in mind, making installation a hassle-free process for both DIY enthusiasts and professionals.
- Expert Advice, our sales staff are knowledgeable about our products and can also provide expert advice and guidance to help you choose the right LED strips for your needs. In addition, we support our products and will assist with technical backup.
- We offer competitive pricing on all of our LED wiring accessories, ensuring that you also get the best value for your money.
- Customer Satisfaction Guarantee, we stand behind the quality of our products. We also offer a customer satisfaction guarantee to ensure that you are completely satisfied with your purchase.
FAQ
Do LED lights need different wiring?
Yes, LED lights often require different wiring compared to traditional incandescent or fluorescent lights. LED lights operate on low-voltage DC (direct current) power, while most electrical systems provide high-voltage AC (alternating current) power. As a result, LED lights typically require a power supply or LED driver to convert the incoming AC power into the appropriate low-voltage DC power that the LEDs need to function properly.
Why are my LED light strips not sticking?
The LED light strips may not be sticking because of inadequate adhesive, improper surface preparation, or a dirty surface.
Can I wiring LED strip lights in parallel?
Yes, you can wire LED strip lights in parallel. Wiring them in parallel means connecting the positive (+) terminals together and the negative (-) terminals together for each LED strip. This setup allows the LED strips to receive the same voltage independently, maintaining brightness and performance.
Can you bend LED light strips?
Yes, LED light strips can be bent. Flexible LED light strips are designed to be easily bent or curved around corners and surfaces.
Do I need a resistor for a 12 volt LED light strips?
It depends on the specific 12V LED. Some 12V LEDs come with built-in resistors, while others may require an external resistor to limit the current and prevent damage. Check the LED's datasheet or product information to determine if a resistor is needed.
How do you size a resistor for an LED?
To size a resistor for an LED, you need to consider two main factors: the forward voltage (Vf) of the LED and the desired forward current (If) through the LED. Please leave us a message to better help you with the instructions.
How to reconnect LED strips after cutting?
To reconnect LED strips after cutting, you'll need to use soldering or LED strip connectors to join the cut ends back together.
How to keep LED light strips from falling off?
To keep LED lights from falling, ensure you have a clean and dry surface, use strong adhesive backing, or consider using additional support like clips or mounting brackets.
How to fold LED strip lights around corners?
To fold LED strip lights around corners, use scissors to cut the strip at the designated cutting mark, then gently bend the strip at the corner to follow the desired angle. Avoid sharp bends to prevent damage. Use connectors or soldering to rejoin cut pieces if needed.
Can LED tape lights be hardwired?
Yes, LED tape lights can be hardwired. Make sure to follow electrical safety guidelines and consider getting assistance from a qualified electrician if you're unsure about the wiring process.
How to bend LED strip?
To bend LED strips, gently flex the flexible LED strip along its designated cutting points or gradual curves. Avoid sharp bends to prevent damage to the LEDs or circuit. For complex angles, consider using connectors or soldering to join separate sections of the LED strip.
What to use wiring LED light strip?
To wire an LED light strip, you can use the following materials: LED light strip with exposed terminals or solder pads, wire cutters/strippers to prepare the wires, wires to connect the LED strip to a power source or controller, connectors or soldering iron to join the wires to the LED strip, and power source such as a power adapter or LED controller, based on the strip's voltage requirements.
How to bend LED lights around corners?
To bend LED lights around corners, use flexible LED strips designed for bending, peel off the adhesive backing, bend around the corner, and stick in place on the prepared surface.
How to curve LED lights?
To curve LED lights, gently flex the flexible LED strip in the desired direction.
How to connect LED lights to power supply?
To connect LED lights to a power supply, match the positive (+) and negative (-) terminals of the LED strip to the corresponding terminals on the power supply, ensuring a secure connection.
How to wire LED strips to a switch?
To wire LED strips to a switch, connect the positive (+) terminal of the LED strip to one terminal of the switch, and then connect the other terminal of the switch to the positive (+) terminal of the power supply. Connect the negative (-) terminal of the LED strip directly to the negative (-) terminal of the power supply.
How to connect multiple LED lights to one power source?
To connect multiple LED lights to one power source, calculate the total voltage and current requirements of all the LEDs. Choose a power supply that matches the total voltage and provides enough current.
How to turn on LED strip lights?
To turn on LED strip lights, plug in the power adapter, connect the LED strip to the power adapter using the provided connectors, and use the remote control or app to activate them.
How to turn corners with LED strip lights?
To turn corners with LED strip lights, carefully bend the flexible strip at the corner's angle to follow the desired path.


