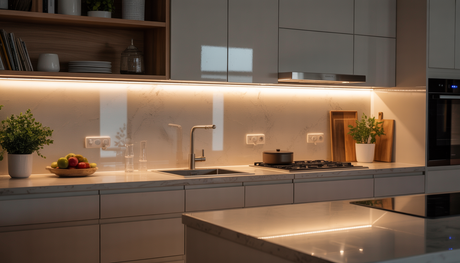
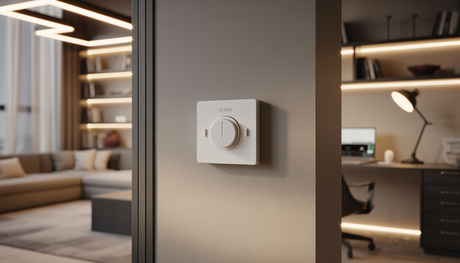
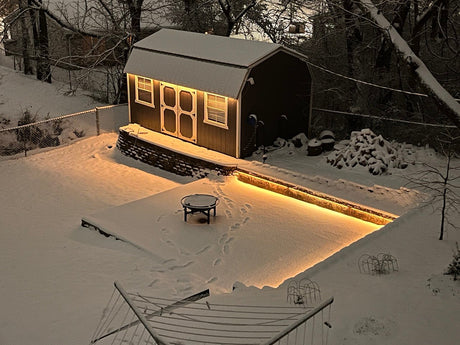
LED lights are a smart choice for compact areas because they deliver strong light output with low power use and a slim profile that fits where traditional fixtures cannot. When you add LED channels to the plan, you get a professional finish, better durability, and smoother light. This guide shows how to set up LED lights for small spaces with the right channel, strip, and power plan. It also previews how to mount gaming led displays in tight spaces using clean cable paths and low profile profiles.
Why LED Channels Are Perfect for Small Spaces
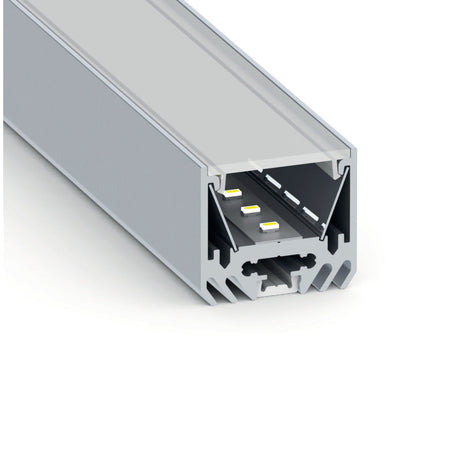
LED channels are aluminum profiles that hold and protect LED strip lights. They hide wires, protect the tape from dust and knocks, and act as a heat sink that helps the strip run cooler for longer life. They also accept snap-in diffusers that blend individual LED points into a single clean line of light.
- Better appearance: Channels create straight, tidy lines and conceal wiring for a built in look in cabinets, closets, and alcoves.
- Heat management: Aluminum spreads heat away from the strip, which helps maintain brightness and color over time.
- Smoother output: Diffusers soften glare and remove hot spots, which is vital in small rooms where viewers stand close to the light source.
- Secure mounting: Rigid profiles prevent sagging and keep adhesive from failing on textured or warm surfaces.

In short, channels turn flexible tape into a robust lighting fixture. That is why they are ideal when you need neat LED lights for small spaces such as toe kicks, shelf undersides, and tight hallway reveals.
Choosing the Right LED Strip and Channel
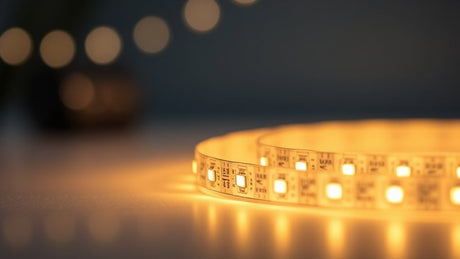
The best results begin with a good fit between the strip and the channel. Start by checking the interior width of the channel and the printed width of the LED tape. Leave a little clearance for easy placement and cooling. Next, match brightness and color to the task. Warm white creates cozy accent light for bedrooms and living rooms, while neutral white works well for task areas such as kitchens and worktops. For gaming desks and displays, RGB or RGBW strips add vivid ambient effects.
- Width and profile height: Low-profile channels suit shallow reveals and cabinet lips. Taller channels with deeper diffusers hide diode dots more effectively in reflective surfaces.
- Brightness and density: High-density strips reduce visible dots. Choose higher lumens per foot for the task light and lower output for the accent light.
- Flex and bend radius: Narrow, more flexible strips are easier to route around tight inside corners and small turns.
- Environment: For bathrooms or covered patios, select tape and covers rated for moisture, then pair with a compatible sealed channel if needed.
Browse suitable tapes here: LED strip lights. Choose a channel that matches your application. Surface mount profiles install quickly on flat surfaces. Recessed profiles sit flush for a sleek, furniture-grade finish along shelves, valances, and desk edges.
Planning the Installation in Tight Spaces
Small rooms and enclosures give you very little margin for error. Careful planning avoids light falloff, shadow lines, and messy cable runs.
- Measure with care: Record the full run length and note any obstructions such as hinges, brackets, or monitor arms. Add a little buffer for cable turns and connectors.
- Plan cable routes: Map how the low voltage cable will reach the channel without crossing visible areas. Use inside corners, underside routes, and rear panels to hide wiring.
- Place power smartly: Keep the driver in a ventilated spot that is close to the run but out of sight, such as inside a cabinet or behind a desk modesty panel.
Size the driver for the total wattage plus headroom to avoid overload and dimming. See collection: LED power supplies.

Step-by-Step Guide to Installing LED Channels in Tight Areas
Step 1: Prepare the Surface
Good adhesion starts with a clean mounting base. Wipe the surface with isopropyl alcohol and a lint-free cloth to remove dust, oils, and polish residue. Allow the area to dry fully. If the surface is textured or slightly uneven, plan to use mounting clips or screws so the channel sits straight and the diffuser snaps in cleanly.
Step 2: Cutting and Fitting Channels
Mark your cut lines on the profile with a pencil and confirm the measurement again before cutting. Use a fine-tooth hacksaw or a miter saw fitted with an aluminum safe blade to make smooth, square cuts. Dry fit the channel on the surface and check end cap clearance and diffuser fit. For very narrow reveals, pre-load short strip segments into the channel before you place them, so you do not struggle with tight finger space later.
Step 3: Mounting in Hard-to-Reach Areas
Installing channels in small or hidden spaces takes a bit of technique. For quick jobs on smooth surfaces, strong double-sided adhesive tape works well and avoids drilling. Make sure the tape is rated for aluminum and has long term holding power. For more permanent setups or areas with heat and weight stress, screw mounting is more reliable. Use low-profile countersunk screws spaced evenly along the channel length.
When working in corners or behind furniture, preassemble the LED strip inside the channel and add the diffuser before sliding it into place. This avoids struggling to snap covers in a tight gap. For corners, cut the channel at a 45-degree angle with a miter box and join them cleanly with corner connectors for a seamless run.
Step 4: Adding Diffusers for a Clean Finish
Diffusers click into the channel and transform rows of diodes into a continuous glow. This is especially important in compact areas where people stand close to the light source. The cover softens brightness, removes sharp glare, and creates an even wash of light. In gaming setups, diffusers help reduce eye strain by balancing the light behind monitors. In small kitchens or bathrooms, they add a polished, built-in appearance while hiding the electronics.

How to Mount Gaming LED Displays in Tight Spaces
Gaming stations often present unique challenges. Desks are packed with monitors, cables, and peripherals, leaving little room for lighting. Without planning, cables get messy and strips peel off. LED channels solve this by creating defined, protected paths for the lights.
- Desk edges: Mount channels under desk lips or along the rear edge for ambient bias lighting that enhances gameplay and reduces eye fatigue.
- Monitor backs: Install slim surface mount profiles to diffuse RGB strips evenly, creating a halo glow behind screens.
- Cable control: Channels double as wire hiders, keeping USB and HDMI cables from overlapping lighting runs.
Pair your setup with accessories such as USB-powered controllers for simple plug-and-play, or Bluetooth smart remotes for color and brightness control.
Tips for Maximizing Light in Compact Areas
- Reflective surfaces: Aim light toward walls, ceilings, or glossy panels to multiply perceived brightness without more power draw.
- Layered lighting: Combine task lighting under cabinets with accent strips on shelves or toe kicks. This adds depth and avoids harsh single-source glare.
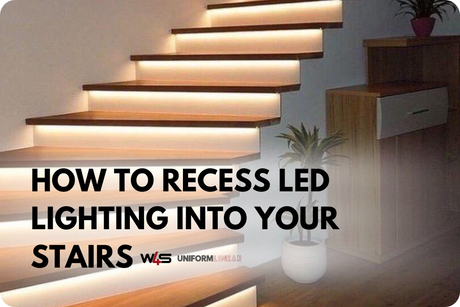
- Creative placements: Add strips under floating shelves, inside display alcoves, or along stair edges for subtle but effective accents.
Common Mistakes to Avoid
- Skipping channels: Bare strips may sag, overheat, or look unfinished. Always use an appropriate profile.
- Wrong cuts: Cutting outside of marked copper pads ruins circuits. Always cut only at designated points.
- Poor brightness match: Using strips that are too dim leaves shadows. Too bright can create glare in small spaces. Select output levels for each application.
FAQs About LED Channel Installation in Small Spaces
Can I use LED strips without a channel?
Yes, but strips without a profile are more prone to sagging, overheating, and visible diode dots. Channels ensure durability and a cleaner look.
What’s the best LED channel for LED lights for small spaces?
Low-profile surface-mount channels work well under cabinets and shelves. For seamless, built-in looks, recessed profiles are ideal.
How do I power LED strips in small setups?
Use a driver sized to your total wattage and keep it in a ventilated but hidden spot. For gaming desks, USB power works for shorter runs.
What’s the best way to hide wires in tight areas?
Route wires behind furniture edges, use cable clips, or run them inside empty channels to keep your setup tidy.
Conclusion
LED channels transform simple strip lights into professional fixtures that suit even the tightest spaces. They protect the tape, extend its lifespan, and deliver smooth, polished light. Whether you are enhancing a gaming desk, lighting a closet, or upgrading a compact kitchen, channels ensure lasting performance and sleek results.
Explore our LED profiles collection to find the right channel for your project, and contact us for project specific advice from our team.


