Installing corner LED channels can transform the ambiance of any room, creating sleek, modern lighting along edges and corners with ease. These specialized channels are designed to house LED strips in places where two surfaces meet, such as at the junctions of walls, ceilings, or under kitchen cabinets.
In this guide, we’ll cover the steps to install corner LED channels and achieve a seamless, professional look.
Why Use Corner LED Channels?
Corner LED channels are specifically made for corner lighting installations, offering a clean, polished solution for integrating LED lighting into corners. They provide protection for the LED strips, enhance heat dissipation, and diffuse the light for a soft, even glow.
Perfect for accent lighting, under-cabinet illumination, or adding ambient lighting along room edges, corner LED channels ensure that your setup delivers uniform light without any interruptions.
Step-by-Step Guide: How to Install Corner LED Channels
This guide will help you install corner LED channels easily, so you can enjoy a seamless, continuous lighting effect across your space.
1. Plan the Layout

Before starting, measure the areas where you intend to install the corner LED channels. These channels work best in areas where two surfaces meet, such as along ceilings, at wall intersections, or under cabinets. Planning ensures you have the right lengths of LED strips, channels, and connectors to avoid unnecessary gaps in the lighting.
Best Practice: For an effective corner channel installation, map out exactly where each corner channel will go. This will help you cut and fit the channels precisely.
2. Prepare the LED Strips and Channel Components
Prepare your LED strip lights and cut them to the correct lengths for each channel section. Make sure to cut the strips only along the designated cut lines, avoiding damage to the circuit.
Here's a quick video guide on cutting them:
Tip: If your project requires any connectors for longer runs, make sure the connectors are compatible with corner channels for clean, uninterrupted light.
3. Mount the Corner LED Channel

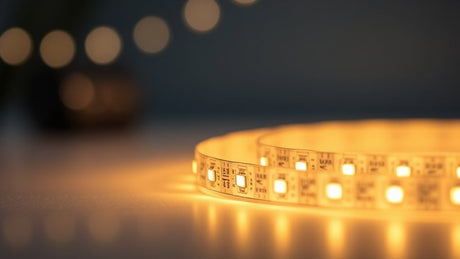
Once you’ve cut your LED strips and prepared the materials, it’s time to mount the corner LED channels. These channels, typically made from aluminum, act as a base for your LED light strip and provide a solid foundation.
How to Install Corner LED Channels: Position the corner channel where the two surfaces meet, such as along the edge of a ceiling or at the bottom of kitchen cabinets. Attach the channel securely using screws or adhesive tape, ensuring it’s aligned properly and flush with both surfaces for a professional look.
4. Attach the LED Strips Inside the Corner Channel
With the channel in place, install the LED strips. Remove the adhesive backing from the strip and press it firmly into the channel, ensuring a snug fit. A proper installation process is crucial for achieving uniform light across the entire channel length.
Tip: Keep the strip taut to prevent any sagging, especially important in areas where a continuous, clean line of light is desired.
5. Install the Diffusers

Diffusers play a crucial role in softening the light and giving it a smooth, uniform appearance. Snap the diffuser onto the corner channel to complete the setup. Diffusers help eliminate hot spots and ensure that the light spreads evenly, providing a polished look.
Best Practice: Install diffusers along the entire length of the corner channel to avoid uneven lighting.
6. Connect to the Power Supply and Test

Finally, connect your LED strips to the power supply. Double-check the wiring, typically with the red wire connecting to the positive terminal and the black wires to the negative, although we always recommend testing this if you are unsure. Test the setup to ensure all connections are secure and the lighting is uniform along the corner channels.
Final Check: Look for any inconsistencies in the lighting, such as dim spots or flickering, and ensure all wiring and connections are secure.
Common Applications for Corner LED Channels
Corner LED channels offer a versatile lighting solution for various settings, providing both functionality and aesthetic appeal. Here are some popular applications:
Under-Cabinet Lighting
Commonly used in kitchens, corner LED channels installed under cabinets illuminate countertops effectively, enhancing both task and ambient lighting. This setup is practical for food preparation and creates a clean, modern look.
Display Case Lighting
Highlight prized possessions, collectibles, or retail merchandise with corner LED channels. Installed discreetly along the edges, they provide even illumination, eliminating shadows and showcasing items beautifully.
Closet and Wardrobe Lighting
Corner channels installed along closet edges help brighten interiors, making it easier to find items while adding a polished touch to the space. The even glow enhances functionality while avoiding harsh shadows.
Staircase Accent Lighting
Installed along stair edges, corner LED channels improve safety by illuminating steps while contributing to a stylish, contemporary ambiance.
Shelf and Bookcase Lighting
Perfect for home offices, libraries, or living rooms, corner LED channels provide soft lighting that accentuates books and decorative items. The setup avoids glare while creating a cozy atmosphere.
Outdoor or Patio Lighting
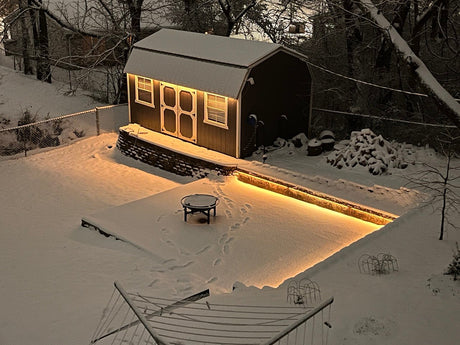
Durable corner LED channels are ideal for outdoor installations, such as along deck railings or pergolas, where they enhance the ambiance and improve visibility without being obtrusive.
Ceiling and Wall Edge Accents
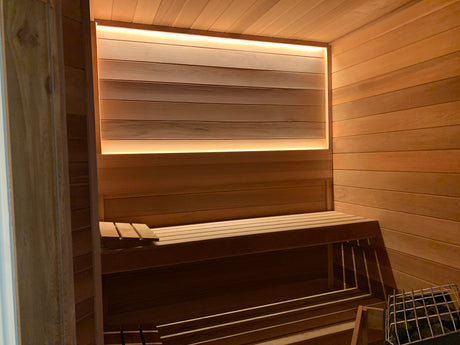
These channels work well along ceiling coves or wall junctions, adding a sleek, ambient glow to the space. The light diffusion creates a seamless modern look, ideal for residential and commercial settings
Retail Displays
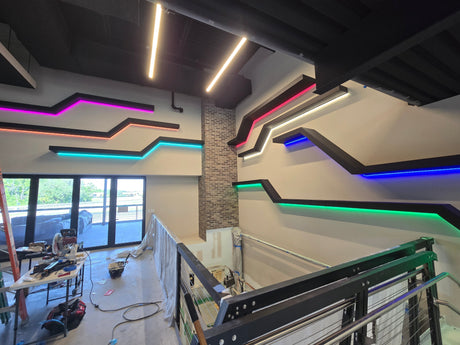
In commercial spaces, corner LED channels enhance product displays by providing uniform lighting, helping attract customer attention and elevate the visual appeal.
These applications demonstrate the adaptability of corner LED channels in both functional and decorative lighting projects. By choosing the right placement and design, you can maximize the impact of your LED lighting setup.
Conclusion
Installing corner LED channels may seem challenging, but with the right approach, it’s a straightforward process. Whether you're installing under-counter lights, running LED strips along kitchen cabinets, or adding accent lighting to a room, corner channels ensure seamless light flow around tight bends. By following these steps, you can achieve a professional, polished look in every corner of your space.
Need help choosing the right corner channel or have questions about your next lighting installation? Reach out for expert advice on all things LED!
FAQs
Here are the most common questions people ask about this topic:
What tools and materials do I need to install corner LED channels?
To install corner LED channels, you’ll need:
- Corner LED channel (aluminum or plastic)
- LED strip lights
- Corner connectors
- LED channels and diffusers
- Measuring tape
- Screws or adhesive tape
- Power supply/transformer
These are the basics to get started, though your specific project might require additional tools like a screwdriver or level for mounting.
Can you bend LED strip lights around corners?
No, LED strip lights can’t be bent directly around corners. You’ll need to use corner connectors to create a seamless 90-degree angle in your installation. The connectors ensure the light continues uninterrupted without damaging the strip.
What are corner LED channels best used for?
Corner LED channels are ideal for sharp turns where two surfaces meet, such as ceiling edges, baseboards, or under counters. They make it easier to install strip lights in these tricky areas while ensuring the light remains smooth and even.
