Introduction
LED strip lights have become a favorite choice for a wide range of lighting applications, from illuminating homes to enhancing large-scale commercial setups.
Known for their energy efficiency, versatility, and vibrant color options, LED strips provide unmatched lighting solutions for various projects. However, to ensure the longevity and reliable operation of your LED strips, it’s essential to understand the proper wiring methods.
This guide will show you how to wire LED strips in a parallel circuit, a method preferred for ensuring consistent brightness, easy troubleshooting, and scalability. By following these detailed steps, you’ll set up your LED strip lighting projects safely and effectively, ensuring optimal performance.
Tools and Materials Needed

Before you begin the installation, gather the following tools and materials:
Tools:
- Soldering iron (for creating durable connections)
- Wire strippers
- Screwdrivers
- Multimeter (for checking wiring)
Materials:
- LED strip lights (single-color or RGB LED strips)
- Power supply
- LED strip connectors
- Appropriate gauge wires
- Adhesive backing or mounting hardware
Safety Gear:
- Insulated gloves
- Safety goggles
- Heat-resistant mat (especially when using a soldering iron)
Understanding Parallel Circuits

A parallel circuit is one in which all components are connected across the same voltage source, ensuring that each component receives the same voltage. This configuration is essential for maintaining consistent brightness across your LED strips.
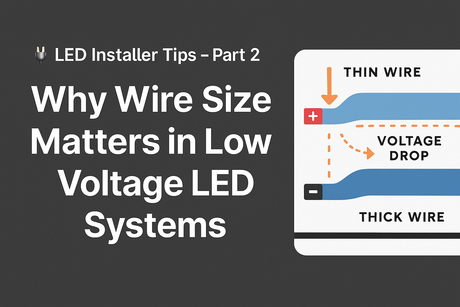
In parallel circuits, each LED strip is independently connected to the voltage source, so if one strip fails, the others will continue to function as normal. This is a significant advantage over series circuits, where the failure of a single strip can interrupt the entire circuit. Wiring LED strips in parallel guarantees each LED strip gets the necessary voltage, thus preventing voltage drop and ensuring a more reliable lighting system.
Benefits of Parallel Wiring for LED Strips
- Consistent Brightness: In a parallel wiring configuration, all LED strips receive the same voltage and current, ensuring uniform light output. This eliminates the chances of inconsistent brightness or dim spots that are often found in series wiring.
- Easy Troubleshooting: Since each LED strip is connected independently to the power supply, identifying and replacing faulty strips becomes much simpler. Troubleshooting becomes a breeze compared to a series circuit where one failure could impact the entire setup.
- Scalability: Parallel wiring is especially useful for large-scale installations where multiple LED strips are needed. It enables you to connect numerous LED strips without worrying about the voltage drop that often affects strips in series circuits. This setup allows you to expand your lighting setup as needed without significant issues.
Preparing the LED Strips
To ensure smooth and efficient installation, follow these preparation steps:
- Measure and Cut LED Strips: Measure the space where your LED strips will be installed. Cut the LED strips along the designated cut points, typically indicated by a small scissor icon on the strip.
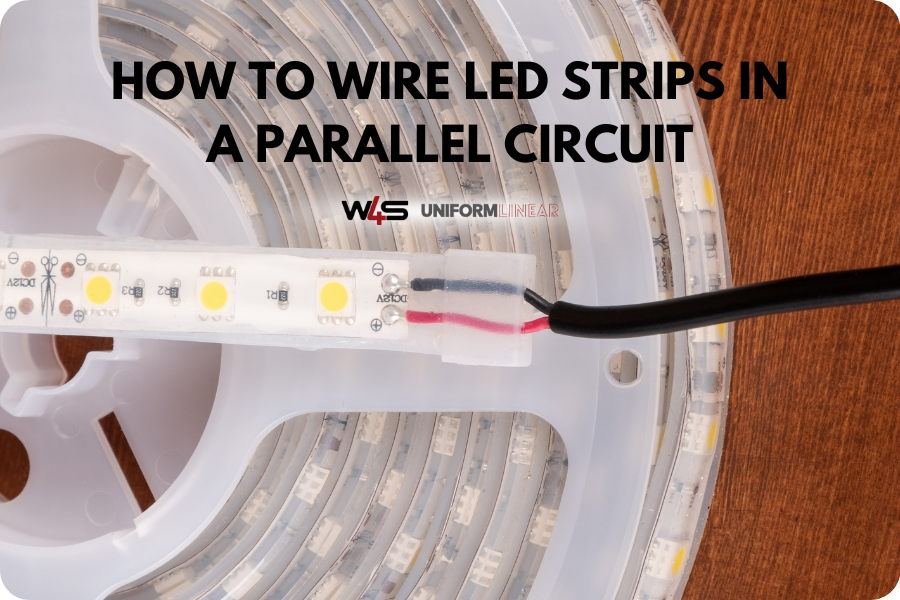
- Strip the Ends of Wires: For waterproof LED strips, carefully remove the glue coating to expose the soldering pads. For regular strips, strip approximately 1/4 inch of insulation from the wires to ensure a solid connection.
- Check Polarity: Always ensure you properly identify the positive (+) and negative (-) terminals on the LED strips. This is essential to avoid connection issues that could damage your LED strips or power supply.
Wiring LED Strips in Parallel

Once the LED strips are prepped, follow these steps to wire them in parallel:
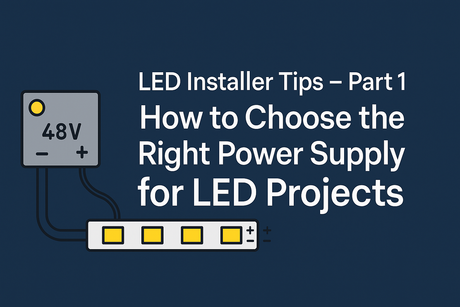
- Connect the Power Supply: Select a power supply with the correct voltage requirement for your LED strips, such as 12V or 24V. Ensure the power supply has a 15-25% power margin over the total power consumption of the LED strips to prevent overloading and ensure the longevity of the system.
- Prepare the Wiring: Cut and strip the wires to the necessary lengths. Use a wiring diagram to ensure that you’re planning the connections correctly. Always consider the power consumption and power requirements of your LED strips to choose an appropriate power supply.
- Connect the Strips: Attach each strip’s positive (+) and negative (-) terminals to the corresponding outputs of the power supply. Ensure all positive wires are connected to the positive output of the power supply, and all negative wires are connected to the negative output.
- Secure the Connections: Insulate the exposed connections with heat shrink tubing or electrical tape to prevent short circuits or accidental disconnections. These connections must be secure to avoid operational issues like dim lighting or flickering.
- Test the Setup: Turn on the power supply and check the setup. All LED strips should light up evenly without dim spots or flickering. If any strips are not functioning properly, double-check the connections and ensure the power supply meets the voltage and current requirements.
Using Connectors vs. Soldering
When wiring LED strips in parallel, you have two main options: connectors or soldering
LED Strip Connectors:
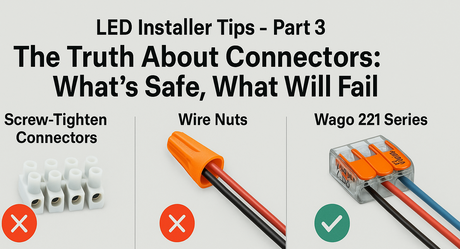
These connectors are convenient for beginners and ideal for quick, clean installations. Use a 2-pin or 4-pin strip connector for single-color or RGB LED strips. Connectors can be a good option for shorter installations or DIY projects.
Soldering:
For a more secure, durable connection, soldering is the recommended method. It provides a reliable connection, especially for high-voltage LED strips or larger installations. Soldered connections are less likely to loosen or fail, making them ideal for more extensive setups.
Troubleshooting Common Issues
Here are some common issues and their solutions when wiring LED strips in parallel:
- Dim Lights or Flickering: If your LED strips are flickering or dim, it may indicate loose connections or an insufficient power supply. Check the power supply and verify that it meets the power requirements of your LED strips. Also, make sure there’s no voltage drop or wiring issues.
- Uneven Brightness: If the brightness is uneven, double-check the connections to ensure all LED strips are wired in parallel. Inconsistent brightness may also occur if the power supply is underpowered or if the strips are not receiving the correct current.
- Non-Functional Strips: If one or more strips are not working, use a multimeter to check the strips for damage. Ensure that there are no faulty connections or broken soldering pads.
Safety Tips

When working with electrical components, always prioritize safety:
- Turn off the power supply before working on your LED circuit.
- Avoid overloading the power supply by ensuring it has a power margin that exceeds the total power consumption of your LED strips.
- Use insulated tools and protective gear to reduce the risk of electrical shock or burns.
- Check the polarity of all connections before powering up to avoid short circuits and potential damage to the LED strips.
Conclusion
Wiring your LED strip lights in a parallel circuit ensures reliable and consistent brightness across your setup. This method makes installation simpler and troubleshooting easier, ideal for both small and larger LED strip lighting projects.
Whether you’re working with single-color LED strips, RGB LED strips, or high-voltage LED strip lights, parallel wiring offers enhanced reliability and scalability.
For the best results, make sure you use high-quality LED strips and reliable components like an appropriately rated LED driver. A properly wired parallel installation will give you optimal performance and brighter, more consistent lighting.
Ready to wire your LED strip lights? Check out quality LED products today and start your lighting projects!
Frequently Aske Questions
Why should I wire LED strips in parallel instead of in series?
Wiring LED strips in parallel ensures consistent brightness across all strips, avoiding voltage drops that occur in series connections. In parallel circuits, each strip receives the same voltage, so they stay uniformly lit.
What power supply should I use for my LED strips?
Select a power supply that matches your LED strip's voltage requirement (12V or 24V). Ensure that the power supply has a power margin of 15-25% above the total power consumption of all connected strips.
Can I use connectors instead of soldering?
Yes, connectors are easier and faster to use, but soldering provides a more durable and secure connection, especially for high-power installations.
What safety precautions should I follow?
Always turn off the power before working, use insulated tools, and check the polarity to avoid short circuits or damage.
How do I prevent voltage drop in larger installations?
For large setups, use shorter lengths of LED strips and ensure that your power supply can handle the load. You may also need external power injection to prevent voltage drop and maintain consistent brightness across all strips.
